arch linux i3 [arch系]
arch linux i3
お仕事の方はごくろうさまです。
あいもかわらずlinuxであそんでいます。
今回の私のパソコン環境は os arch i3ウインドーマネージャー
CPU: Intel i7-7700 (8) @ 4.200GHz
GPU: NVIDIA GeForce GT 730
Arka Linux GUI
archlinux-gui-i3-2022.07-x86_64.iso
archlinuxのインストールは、 gnome-disksにてusbメモリーに書き込み。起動させてssdにインストールした。
お仕事の方はごくろうさまです。
あいもかわらずlinuxであそんでいます。
今回の私のパソコン環境は os arch i3ウインドーマネージャー
CPU: Intel i7-7700 (8) @ 4.200GHz
GPU: NVIDIA GeForce GT 730
Arka Linux GUI
archlinux-gui-i3-2022.07-x86_64.iso
archlinuxのインストールは、 gnome-disksにてusbメモリーに書き込み。起動させてssdにインストールした。
archinstallerがdmenu(winキー+dキー)にあります。
インストール終了後
lightdm errorで止まった。ctrl+alt+F2 同時押し updateしてリブートするとok だった。
login:
passwd:
export LANG=C
sudo pacman -Sy
export LANG=C
sudo pacman -S archlinux-keyring
sudo pacman -Su
sudo pacman -S xfce4-terminal thunar leafpad firefox polkit-gnome gvfs scrot
sudo reboot
sudo pacman -S ntfs-3g xdg-user-dirs-gtk archlinux-wallpaper fcitx5-im fcitx5-mozc fcitx5-configtool libvoikko nuspell easytag celluloid gimp yt-dlp git gst-libav pavucontrol pulseaudio audacity file-roller
sudo pacman -S nano fakeroot gcc make automake autoconf
yayのインストール
git clone https://aur.archlinux.org/yay.git
cd yay
makepkg -si
yay -S otf-takao ttf-nanum google-chrome onlyoffice-bin
gst-plugin-libde265のインストール
sudo pacman -R yt-dlp neofetch
yay -S gst-plugin-libde265
sudo pacman -S yt-dlp neofetch
時刻合わせ
sudo rm /etc/localtime
mirageのインストール
yay -Syu qt5-base qt5-declarative qt5-quickcontrols2 qt5-svg qt5-graphicaleffects qt5-imageformats libx11 libxss alsa-lib python python-pip python-pyotherside libolm base-devel git cmake libjpeg-turbo zlib libtiff libwebp openjpeg2 libmediainfo
yay -S mirage
/usr/lib/polkit-gnome/polkit-gnome-authentication-agent-1
sudo nano /etc/profile
export GTK_IM_MODULE=fcitx5
export QT_IM_MODULE=fcitx5
export XMODIFIERS=@im=fcitx5
polybar の設定 fontsの大きさとか、色、表示順序を変えた。
polybar のアイコンをクリックすると・・・時間とか、電源マークとか、volとか。
nano ~/.config/polybar/config 一部編集
ーーーーーーーーーーーーーーーーーーーーーーーーーーーーーー
[colors]
;background = ${xrdb:color0:#222}
background = #222
background-alt = #444
;foreground = ${xrdb:color7:#222}
foreground = #dfdfdf
foreground-alt = #509844
primary = #ffb52a
secondary = #0080ff
alert = #bd2c40
[bar/alg-example]
;monitor = ${env:MONITOR:HDMI-1}
width = 100%
height = 40
;offset-x = 1%
;offset-y = 1%
radius = 6.0
fixed-center = false
locale = ja_JP.UTF-8
background = ${colors.background}
foreground = ${colors.foreground}
line-size = 3
line-color = #f00
border-size = 4
border-color = #00000000
padding-left = 0
padding-right = 2
module-margin-left = 1
module-margin-right = 2
font-0 = NotoSerifCJK-Regular:pixelsize=15;1
font-1 = unifont:fontformat=truetype:size=15:antialias=false;0
font-2 = siji:pixelsize=20;1
modules-left = bspwm i3 xwindow
modules-center = mpd
;modules-right = filesystem xbacklight alsa pulseaudio xkeyboard memory cpu wlan eth battery temperature date powermenu
modules-right = date backlight xkeyboard memory cpu temperature battery eth powermenu pulseaudio
ーーーーー
ーーーーー
ーーーーー
[module/date]
type = internal/date
interval = 5
date =
date-alt = " %Y-%m-%d"
time = %H:%M %A
time-alt = %H:%M:%S
ーーーーー
ーーーーー
ーーーーー
[module/pulseaudio]
type = internal/pulseaudio
ーーーーー
ーーーーー
bar-volume-width = 20
ーーーーー
bar-volume-foreground-6 = #0080ff
ーーーーー
ーーーーー
ーーーーー
ーーーーーーーーーーーーーーーーーーーーーーーーーーーーーーー
logoutは、rofiで・・。
参考サイトalterlinux-i3-manager様
nano /.config/i3/config
bindsym $mod+Shift+e exec --no-startup-id rofi -show power
~/ダウンロード/alterlinux-i3-manager-master/data/rofiフォルダ
◯~/.config/rofiフォルダを使用。
rofiフォルダには、4ファイルがあります。
rofiフォルダのconfig ファイルをconfig.rasiと名前変更します。
rofiフォルダのconfig.rasi ファイルは以下の様になっています。
nano ~/.config/rofi/config.rasi
ーーーーーーーーーーーーーーーーーーーーーーーーーーーーーーー
configuration {
modi : "drun,power:~/.config/rofi/power.sh";
font : "hack 10";
show-icons : true;
icon-theme : "Inverse-blue";
kb-cancel : "Escape";
}
@theme "~/.config/rofi/alter-dark.rasi"
ーーーーーーーーーーーーーーーーーーーーーーーーーーーーーーーー
ーーーーー
ーーーーー
ーーーーー
ーーーーーーーーーーーーーーーーーーーーーーーーーーーーーーー
logoutは、rofiで・・。
参考サイトalterlinux-i3-manager様
nano /.config/i3/config
bindsym $mod+Shift+e exec --no-startup-id rofi -show power
~/ダウンロード/alterlinux-i3-manager-master/data/rofiフォルダ
◯~/.config/rofiフォルダを使用。
rofiフォルダには、4ファイルがあります。
rofiフォルダのconfig ファイルをconfig.rasiと名前変更します。
rofiフォルダのconfig.rasi ファイルは以下の様になっています。
nano ~/.config/rofi/config.rasi
ーーーーーーーーーーーーーーーーーーーーーーーーーーーーーーー
configuration {
modi : "drun,power:~/.config/rofi/power.sh";
font : "hack 10";
show-icons : true;
icon-theme : "Inverse-blue";
kb-cancel : "Escape";
}
@theme "~/.config/rofi/alter-dark.rasi"
ーーーーーーーーーーーーーーーーーーーーーーーーーーーーーーーー
i3 を自分仕様にする。
nano /.config/i3/config
ーーーーーーーーーーーーーーーーーーーーーーーーーー
exec_always feh --bg-fill /usr/share/backgrounds/archlinux/snow.jpg
exec_always --no-startup-id sleep 1; xset dpms 3600 3600 3600
exec --no-startup-id /usr/lib/polkit-gnome/polkit-gnome-authentication-agent-1 &
exec --no-startup-id fcitx5
exec --no-startup-id pulseaudio --start
# kill focused window
bindsym $mod+Shift+q kill
bindsym $mod+Return exec xfce4-terminal
bindsym $mod+Shift+w exec firefox
bindsym $mod+Shift+f exec thunar
bindsym $mod+Shift+e exec --no-startup-id rofi -show power
# kill focused window
bindsym mod1+F4 kill
bindsym Print exec --no-startup-id scrot 'archLinux_%Y-%m-%d-%S_$wx$h.jpg' -e 'mv $f $$(xdg-user-dir PICTURES)'
bindsym $mod+Prior workspace prev
bindsym $mod+Next workspace next
ーーーーーーーーーーーーーーーーーーーーーーーーーーーー
上記は重複しないように気をつけて・・・・。
archlinux-gui-i3 は、最初何も入ってなかった。
自分仕様するのにはとてもよいosでしょう。
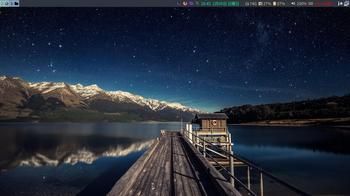
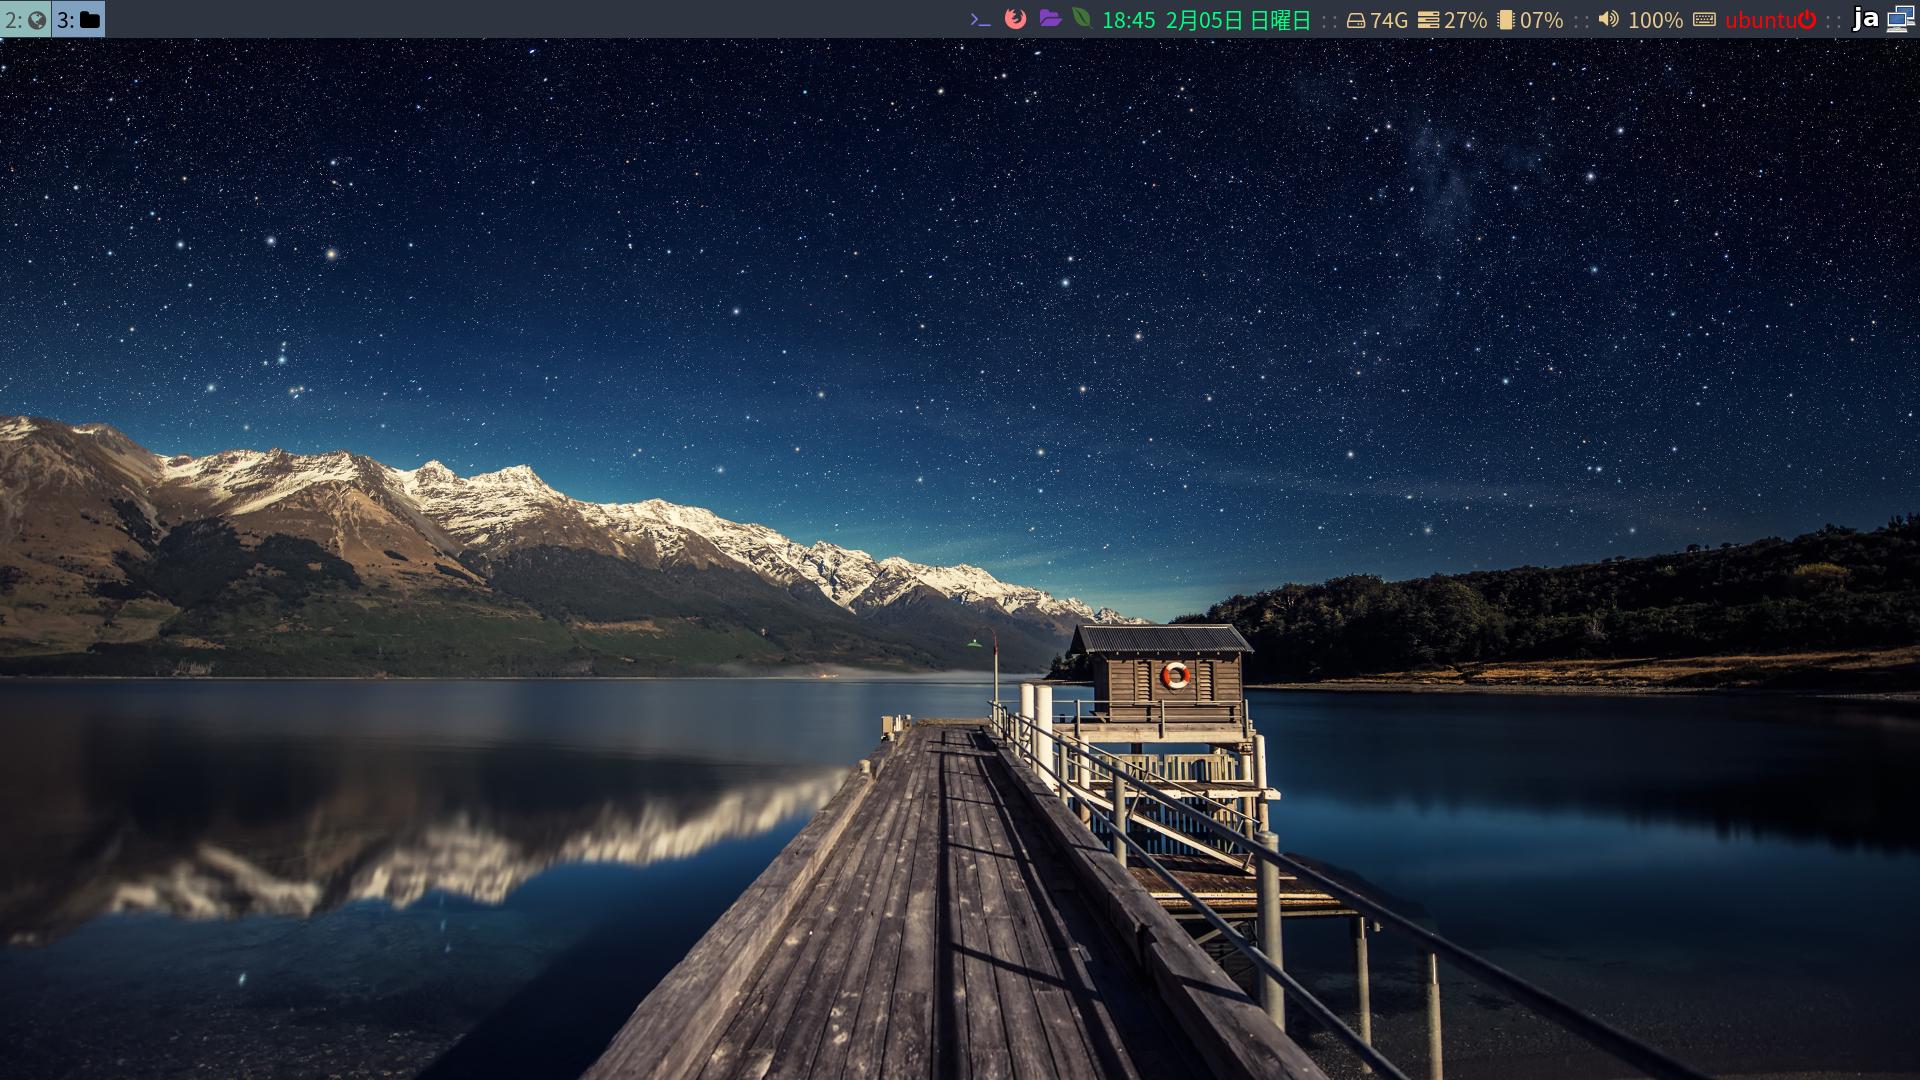
以下参考画像。
i3 改悪前
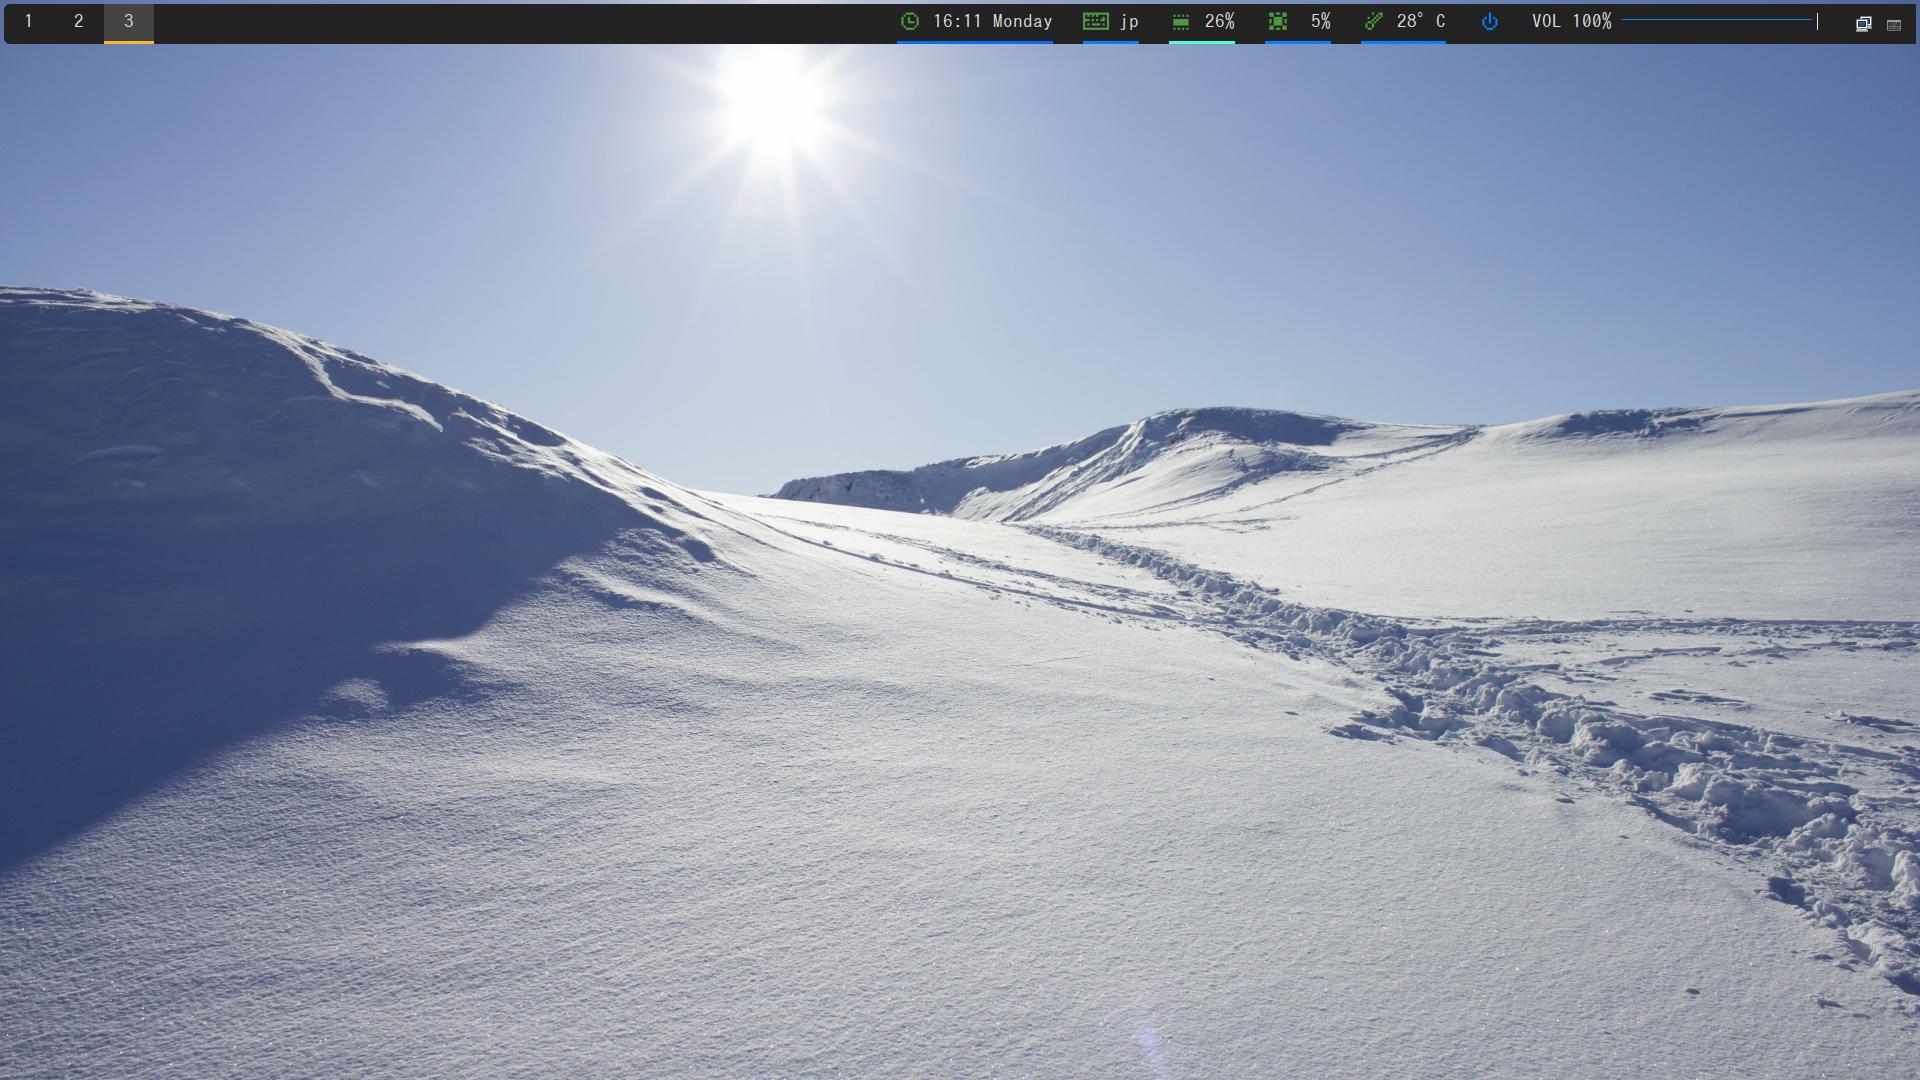
i3

logout
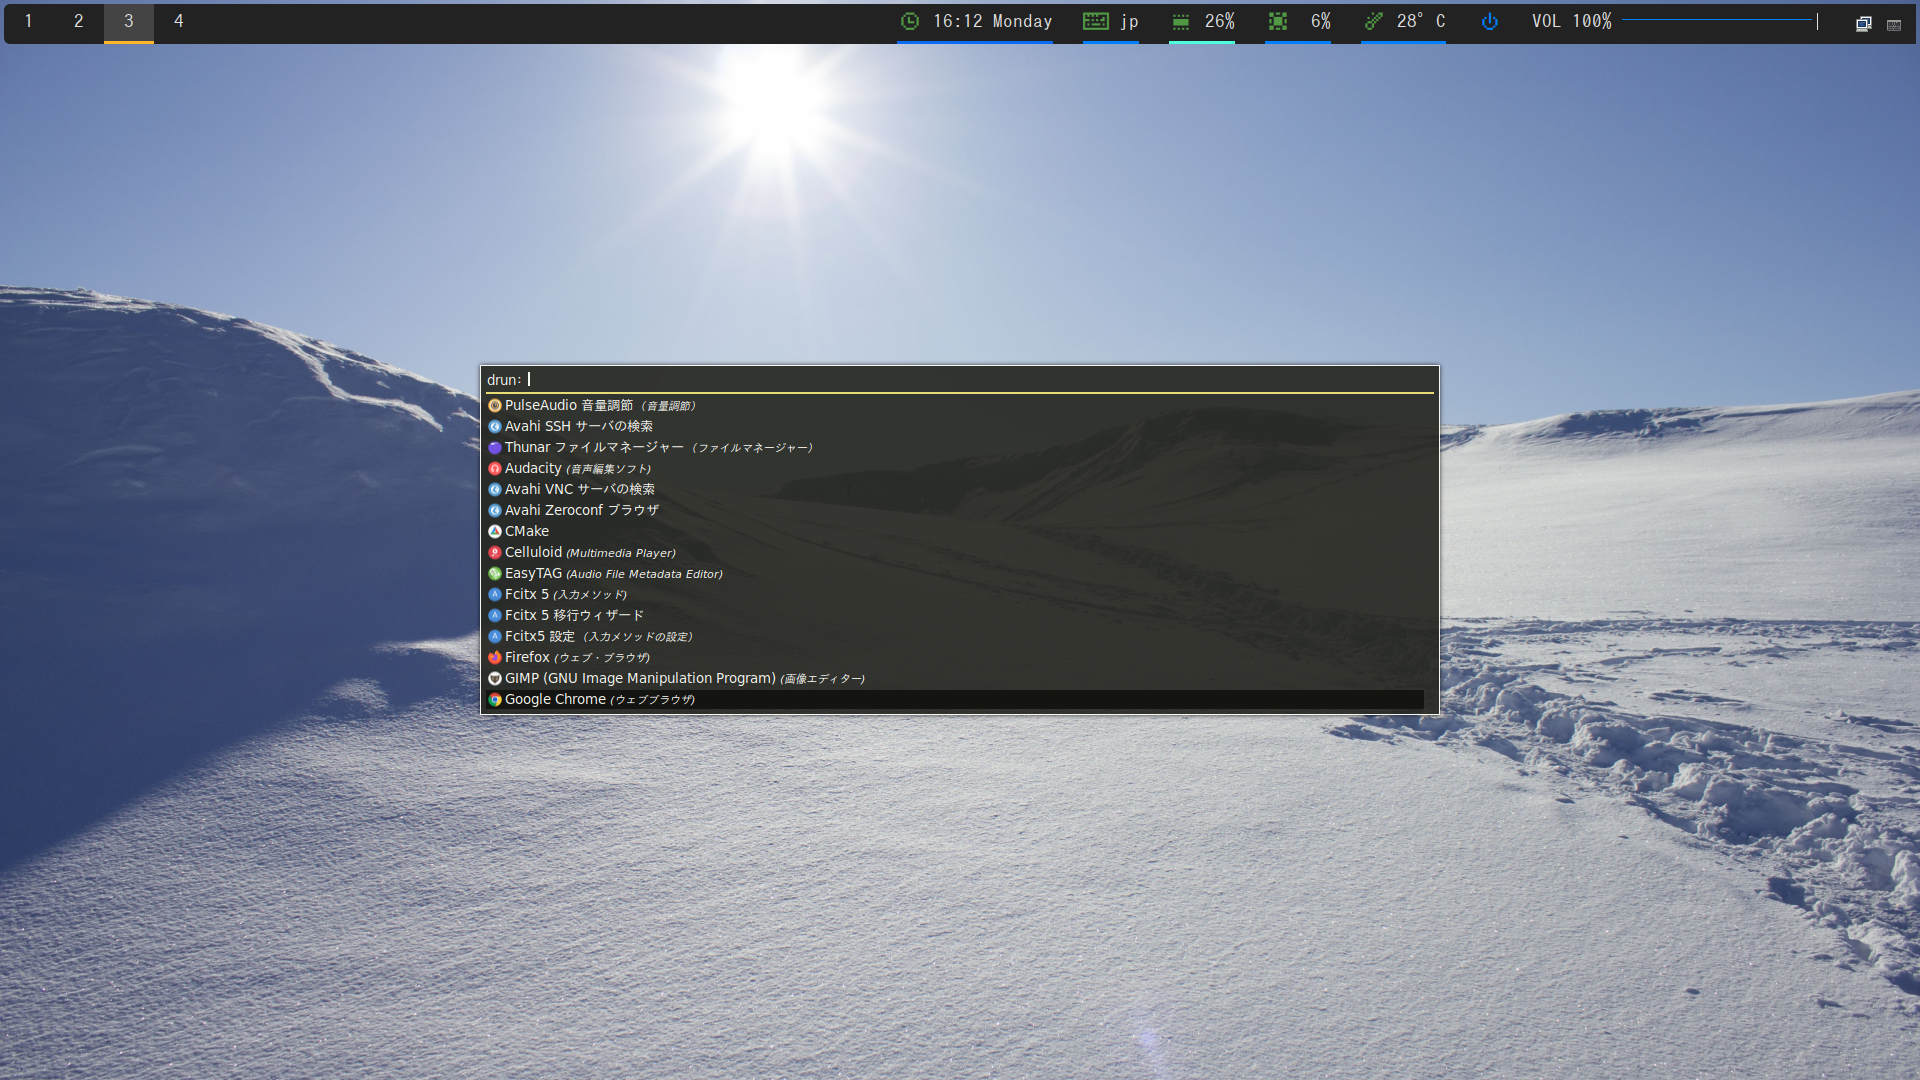
dmenu
https://news.yahoo.co.jp/pickup/6454499
LFA (Linux for all) + retracta snapshot [ubuntu,debian系]
LFA (Linux for all) + retracta snapshot
あいもかわらずlinuxであそんでいます。
今回の私のパソコン環境は、 os LFA (Linux for all) i3ウンイドーマネージャー
CPU: Intel i7-7700 (8) @ 4.200GHz
GPU: NVIDIA GeForce GT 730
lfa-22.10-64bit-gnome42.4-refractasnapshot-1490mb-221008.iso
lfaのインストールは、refracta installerを使います。初めて使います。
参考サイトRefracta Snapshot を使い、Debian のカスタマイズ ISO を作りました様
LFA (Linux for all)は、ubuntu系、ノルウェー製。
インストール終了後 設定は、ubuntuとほぼ一緒
synapticを使ってリボジトリを国内のサーバーに変える。
sudo synaptic
sudo apt update
sudo apt upgrade
インストールしたもの
sudo apt install neofetch build-essential i3 i3blocks thunar xfce4-terminal feh fonts-font-awesome gnome-icon-theme rofi scrot policykit-1-gnome fcitx5-mozc celluloid mirage snapd lm-sensors
sudo apt install neofetch build-essential i3 i3blocks thunar xfce4-terminal feh fonts-font-awesome gnome-icon-theme rofi scrot policykit-1-gnome fcitx5-mozc celluloid mirage snapd lm-sensors
+
+
sudo apt install language-pack-ja-base language-pack-ja
sudo localectl set-locale LANG=ja_JP.UTF-8
マイプームi3の設定は前記事と同じ
sudo snap install onlyoffice-desktopeditors audacity
grubメニューの背景画像好みのものに変更
sudo mv /home/satou/ダウンロード/coffee-wallpaper-hd-109.jpg /boot/grub
sudo nano /etc/default/grub
GRUB_BACKGROUND="/boot/grub/coffee-wallpaper-hd-109.jpg"
sudo update-grub
ふつうのfirefoxのインストール
=/ダウンロード/New-mpty-File
~/firefox/firefox -p
im-config -n fcitx5
sudo nano /etc/profile
export GTK_IM_MODULE=fcitx5
export QT_IM_MODULE=fcitx5
export XMODIFIERS=@im=fcitx5
デスプレイマネージーの変更。
sudo apt remove slim
sudo apt install lxdm
sudo apt autoremove
LFA (Linux for all)は、retracta snapshotというソフトが入っていている。
設定終えたなら自分仕様のisoがかんたんに作成できるでしょう。
iso作成
sudo refractasnapshot-gui
作成したisoは、/home/snapshotフォルダにあります。
この作成したisoをusbに書き込み、別のパソコン機種にインストール可能でしょう。
私のような変人にとっては、夢のようなソフトでしょう。
以下参考画像
i3
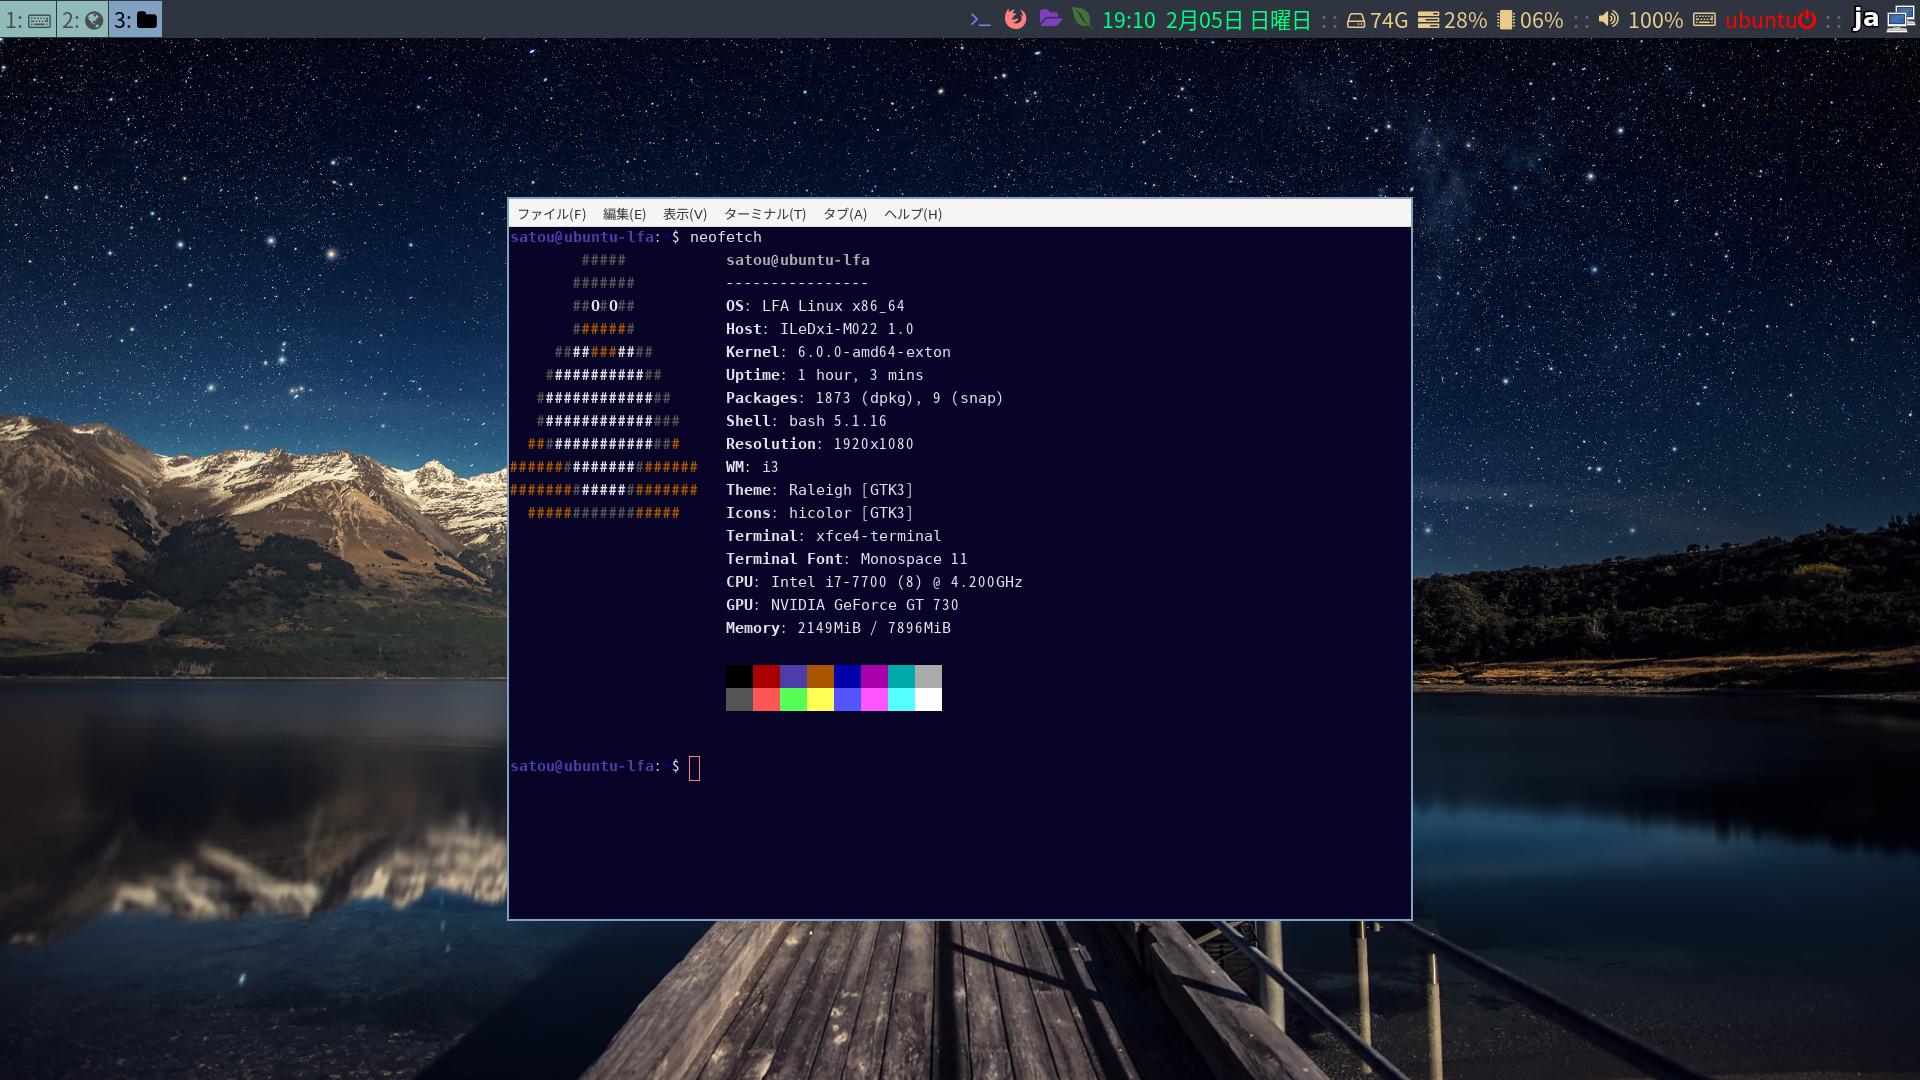
neofetch

homeフォルダ
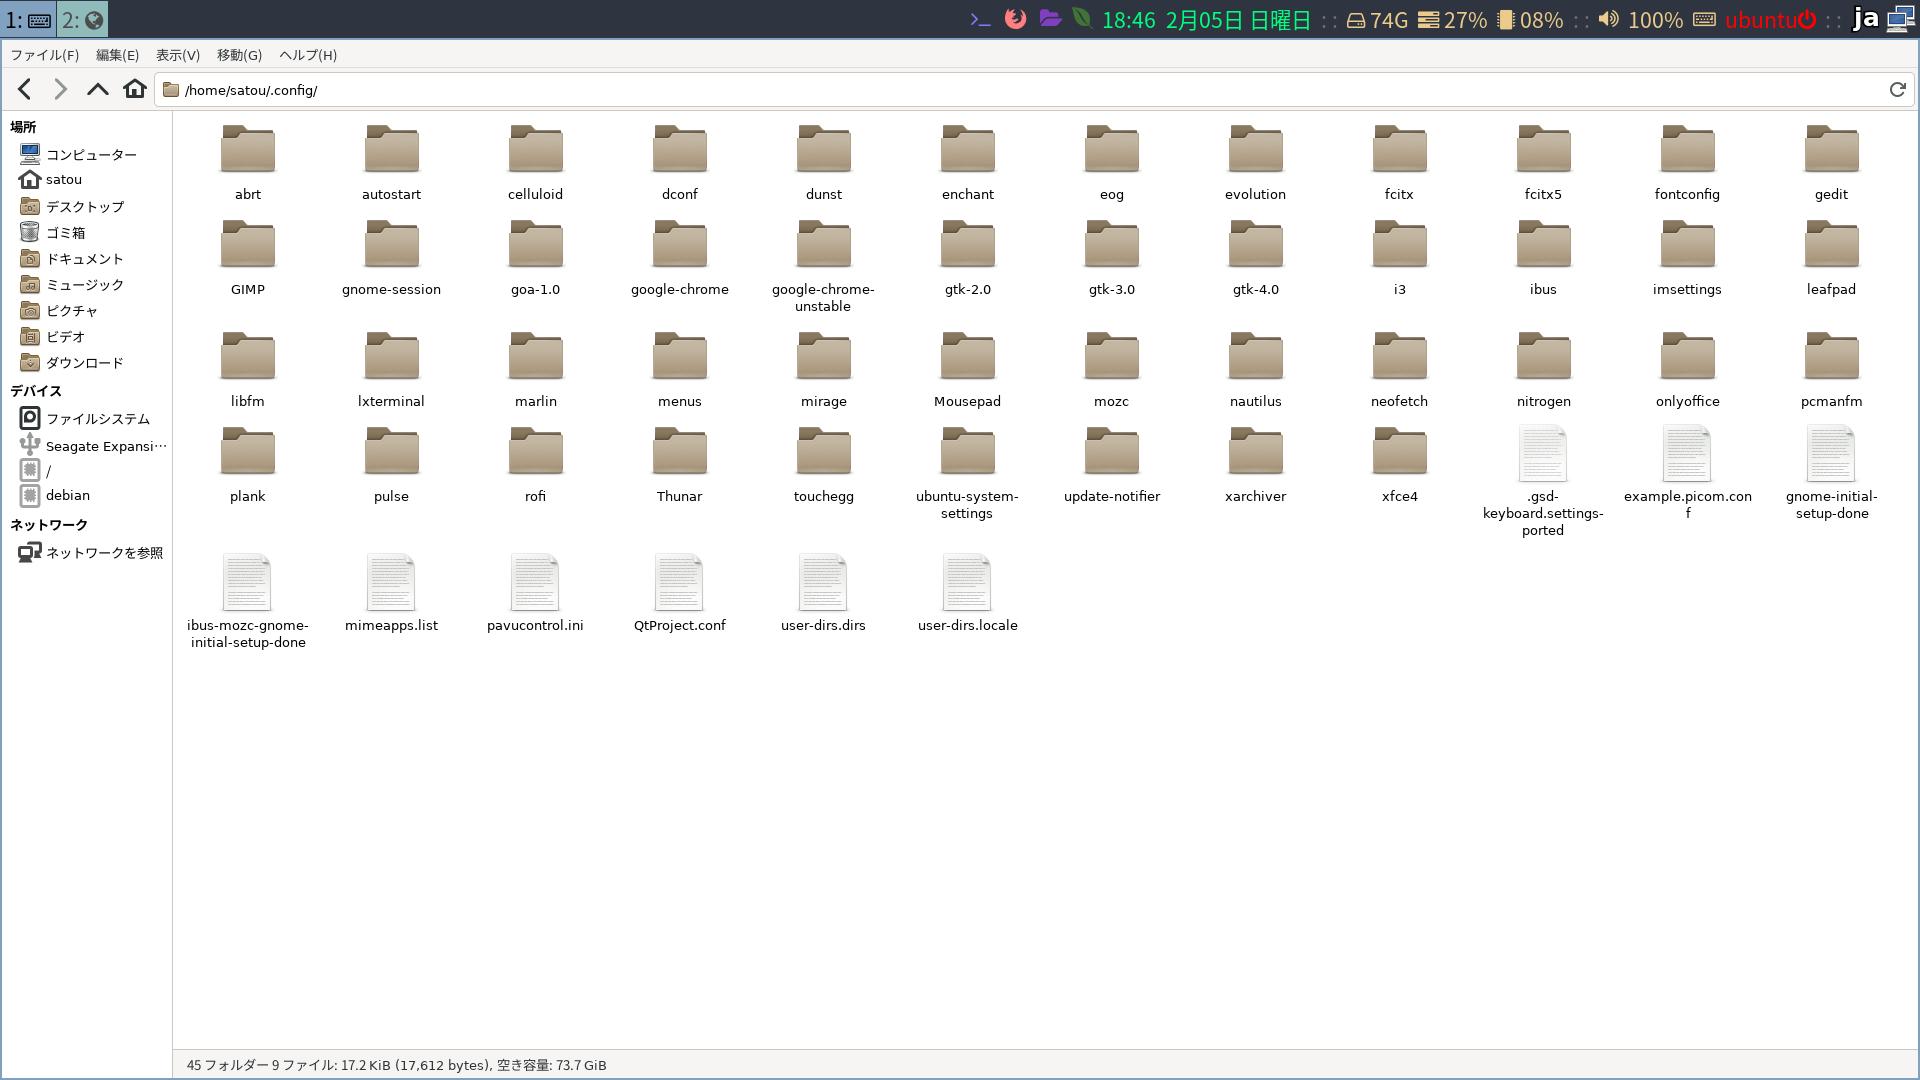
~/.configフォルダ
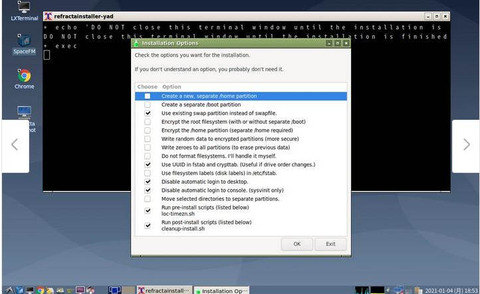
refractaのインストーラー画像拝借
refractaのインストーラーは、途中にオプションの選択画面があります。
わたしは、swapと disable2個 のチェックをはずしました。デスクの書式uuidをはずしその下のラベルにチェックしました。
https://www.youtube.com/watch?v=Xi65-xbQESg


