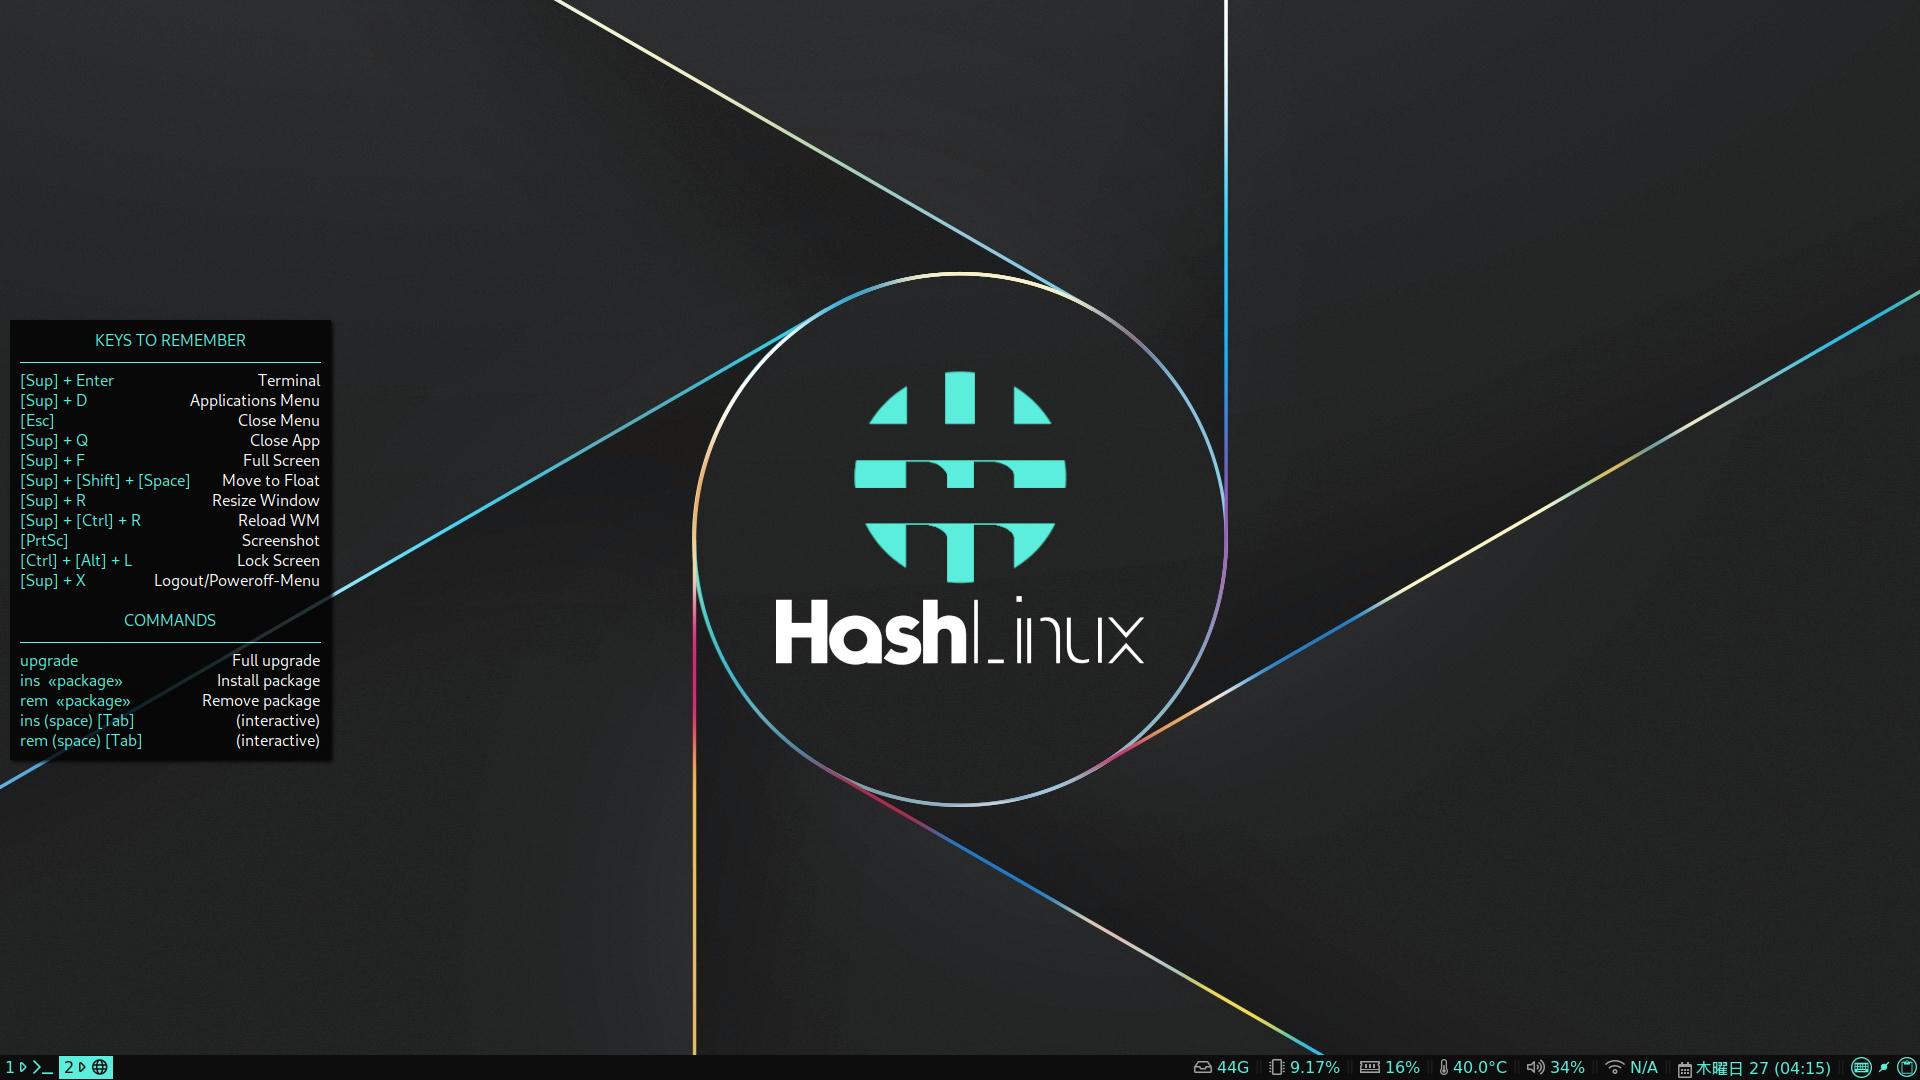
hash linux 13 [arch系]
hash linux 13
あいもかわらずlinuxであそんでいます
お仕事の方はご苦労さまです
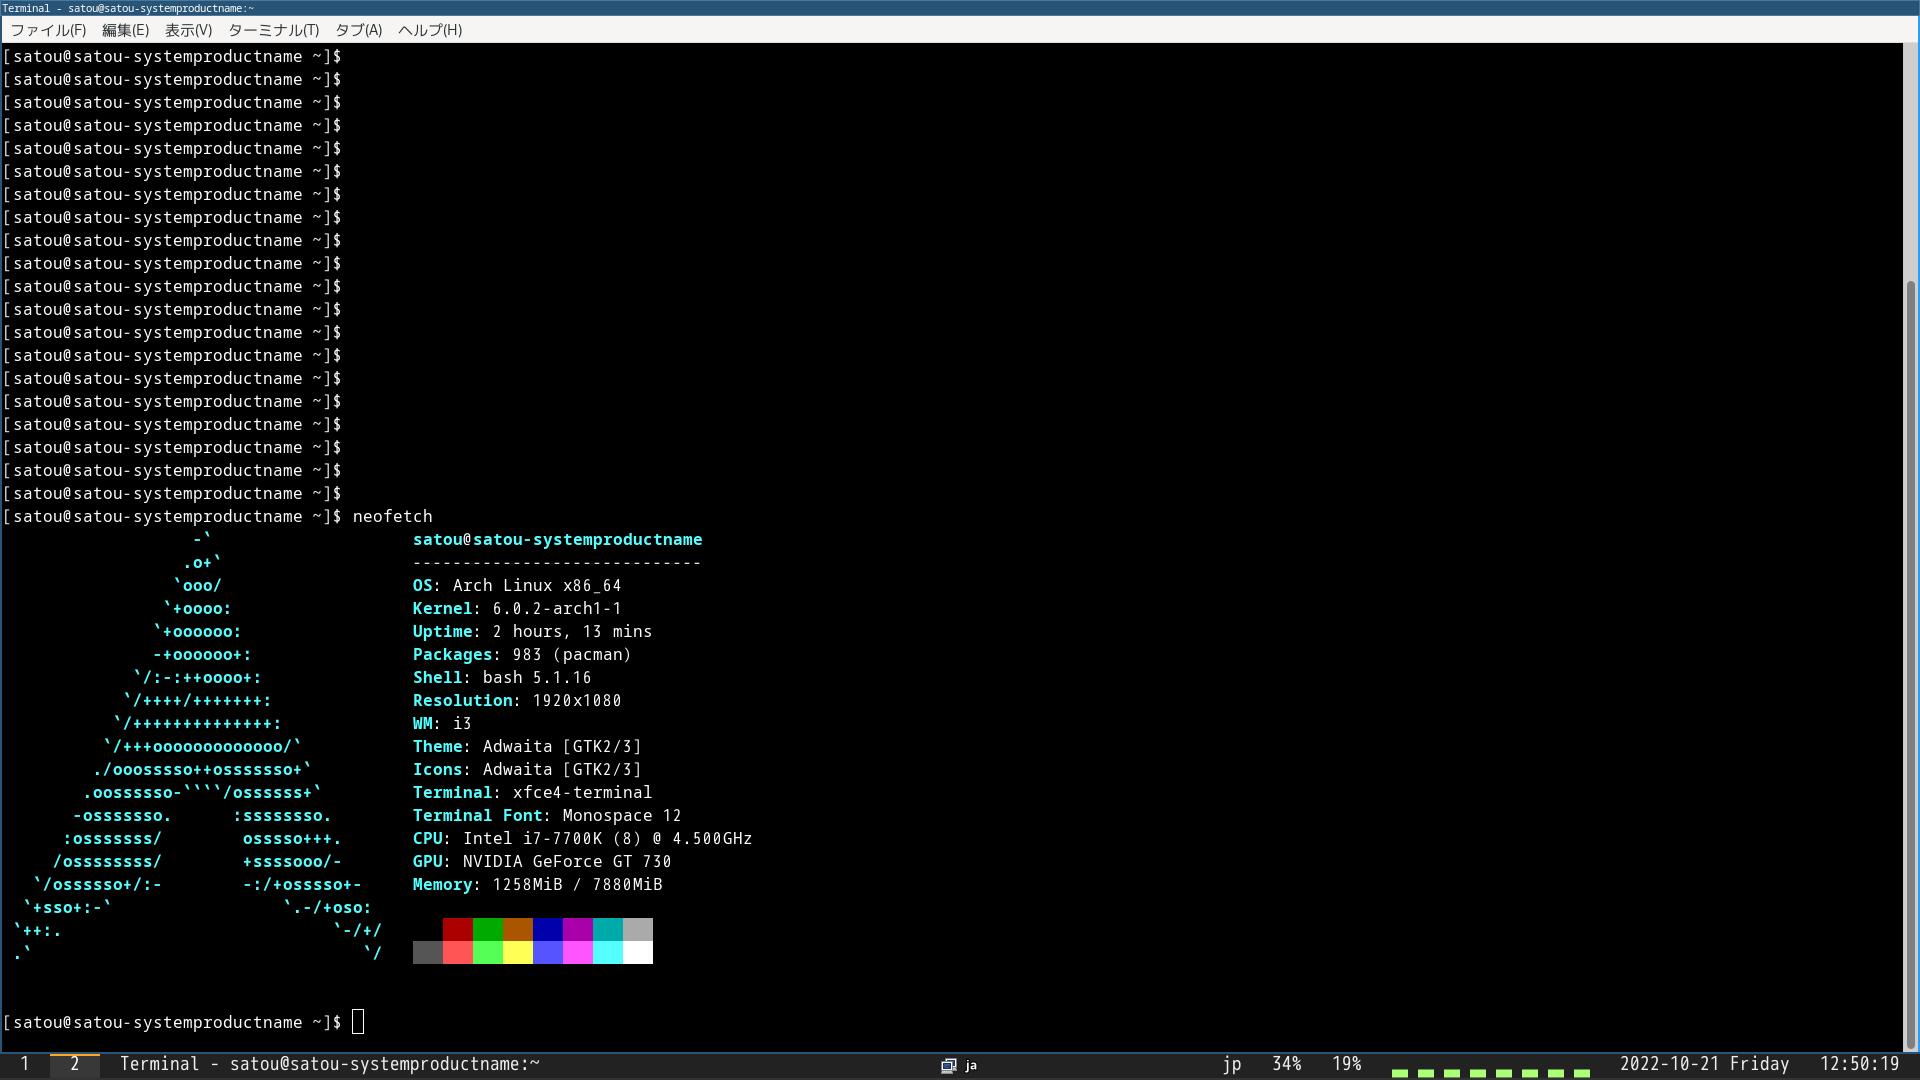
今回の私のパソコン環境 osは hash linux i3 ウインドーマネージャー
CPU: Intel i7-7700K (8) @ 4.500GHz
GPU: NVIDIA GeForce GT 730
monitor: HDMI接続
hash linux はarch系 インド製。情報が少ない。
hash linuxのupdateをするまえに準備する。
rofiをupgradeすると動かなくなります。なのでupgradeしないように設定する。
ミラーリストをjapanにする。
sudo nano /etc/pacman.conf
IgnorePkg = rofi
sudo geany /etc/pacman.d/mirrorlist
Server = http://ftp.jaist.ac.jp/pub/Linux/ArchLinux/$repo/os/$arch
sudo pacman -Sy
sudo pacman -S archlinux-keyring
upgrade
アップグレイドするとpacman.confの設定も消えてしまうので再設定が必要でしょう。
sudo nano /etc/pacman.conf
IgnorePkg = rofi
インストールしたもの
sudo pacman -S xfce4-terminal leafpad
sudo pacman -S scrot fcitx5-im fcitx5-mozc fcitx5-configtool libvoikko nuspell easytag celluloid gimp yt-dlp
arch系で定番の以下の作業は、i3ウインドーマネージャー使う場合に作成してはいけません。
ショットカットキーが使えなくなったりします。
nano ~/.xprofile
export GTK_IM_MODULE=fcitx5export QT_IM_MODULE=fcitx5
export XMODIFIERS=”@im=fcitx5”
以下の様にしましょう。
sudo nano /etc/profile
export GTK_IM_MODULE=fcitx5export QT_IM_MODULE=fcitx5
export XMODIFIERS=@im=fcitx5
yay -S otf-takao ttf-nanum mirage google-chrome noto-fonts-cjk onlyoffice-bin ttf-vlgothic
audacityのインストール
yay -S audacity-wxgtk2
ffmpeg4.4 4.4.2-3のインストール
yay ffmpeg
2
i3lockがはたらくと電源までも切れるので以下を削除。
rem xfce4-power-manager
i3barは、i3blocksで作成されています。きれいでしょう。
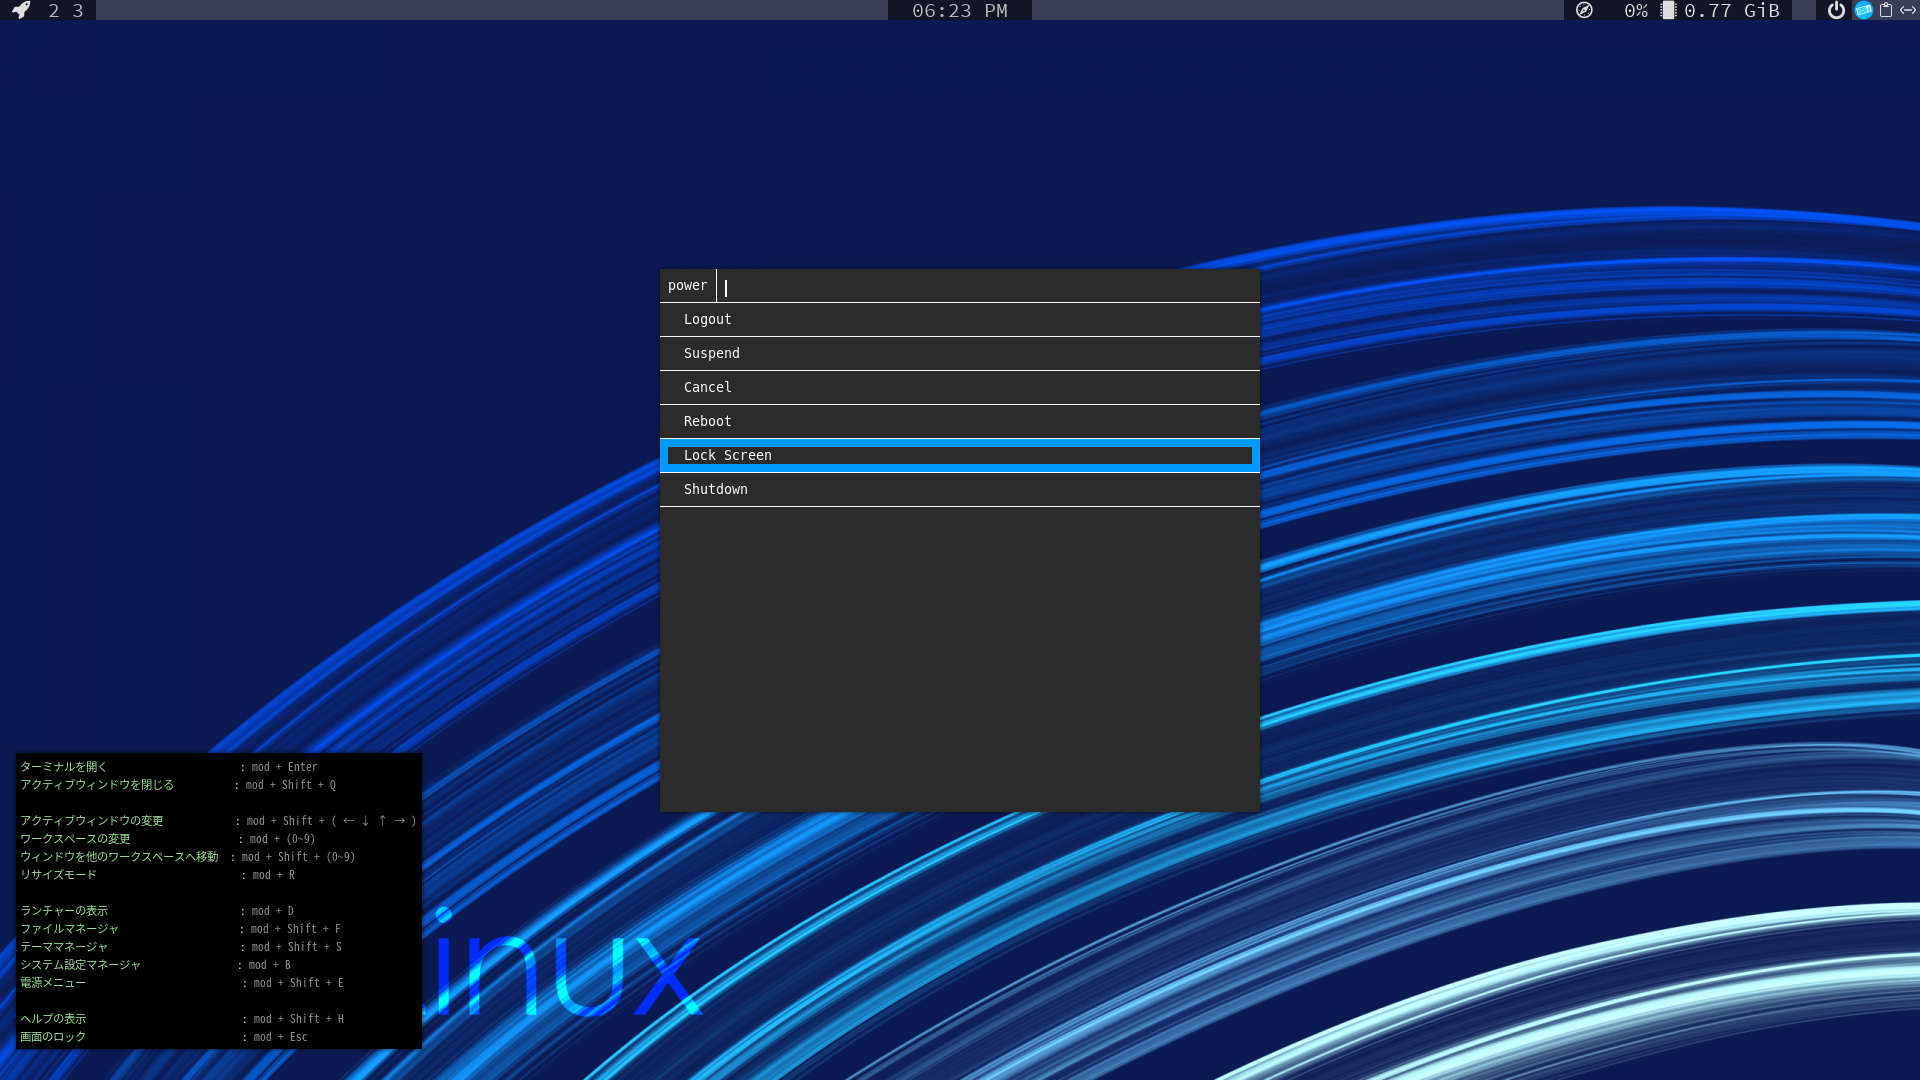
rofiのlogout画面を大きくする。
nano ~/.config/rofi/power.rasi
22行から
window {
transparency: "real";
background: @background;
text-color: @foreground;
border-radius: 0px;
height: 250px;
width: 650px;
location: center;
x-offset: 0;
y-offset: 0;
}
101行
font: "Font Awesome 5 Pro 38";
hash linuxは、dmenu画面、 logout画面、i3bar、それぞれきれいに作られているでしょう。
ins 〇〇〇〇 rem 〇〇〇〇 upgrade など独自のコマンドが使える。◯
hash linuxは、情報量がすくないがarch系なので心配は無用でしょう。
ここのところ私のマイブームは、arch系、i3でしょう。
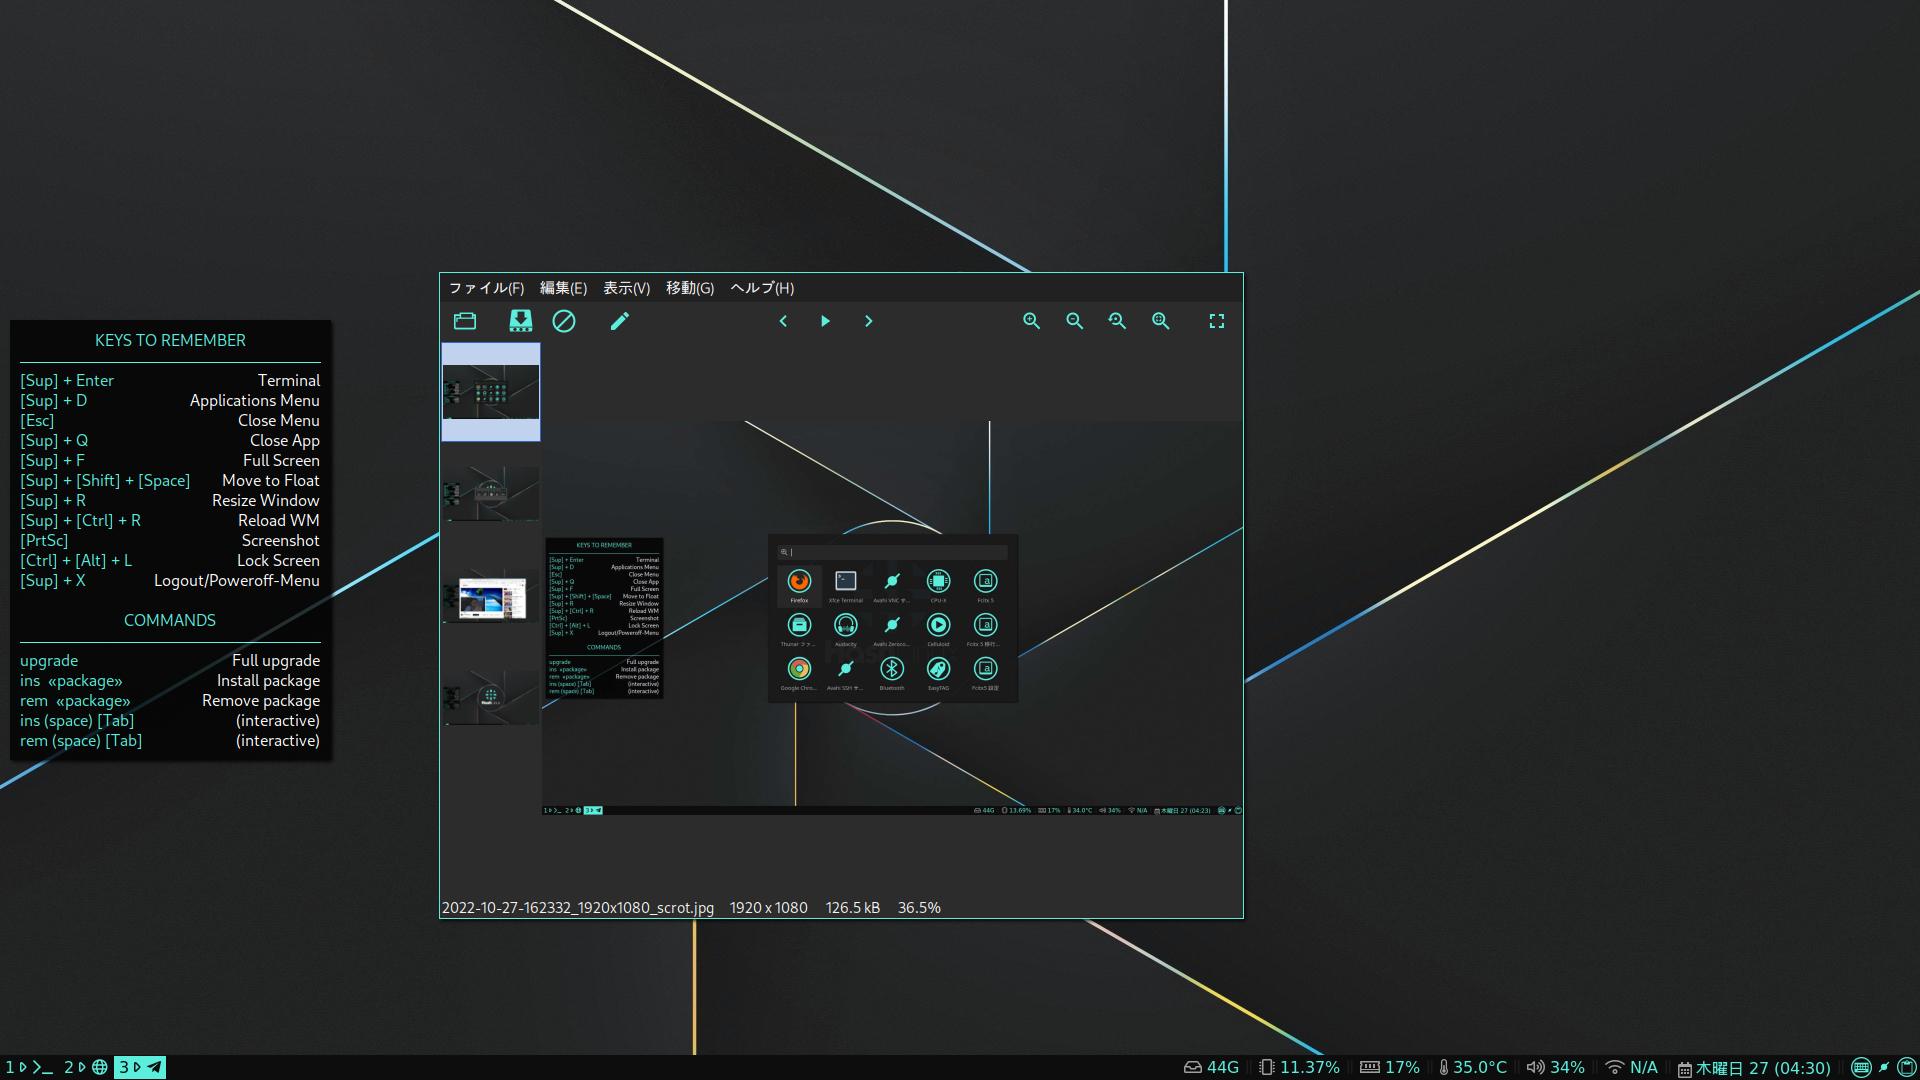
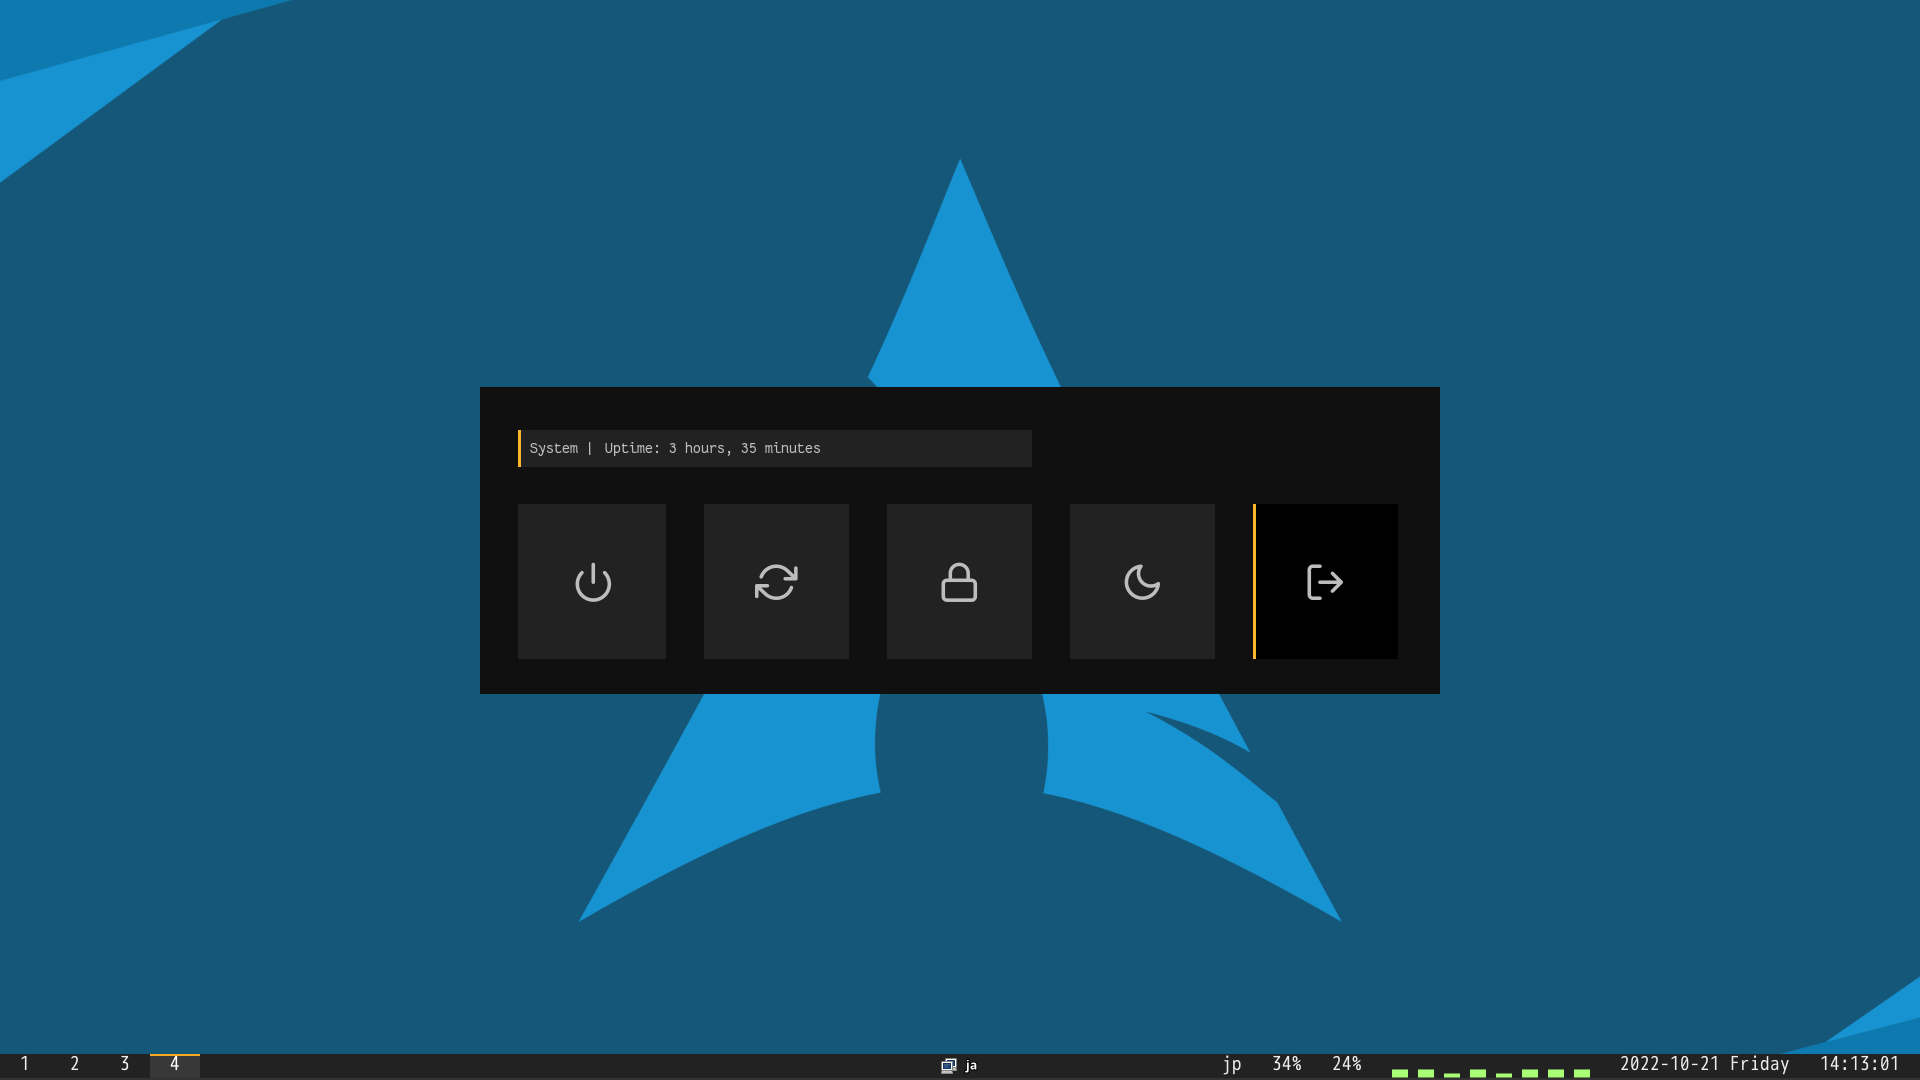
以下参考画像。
i3
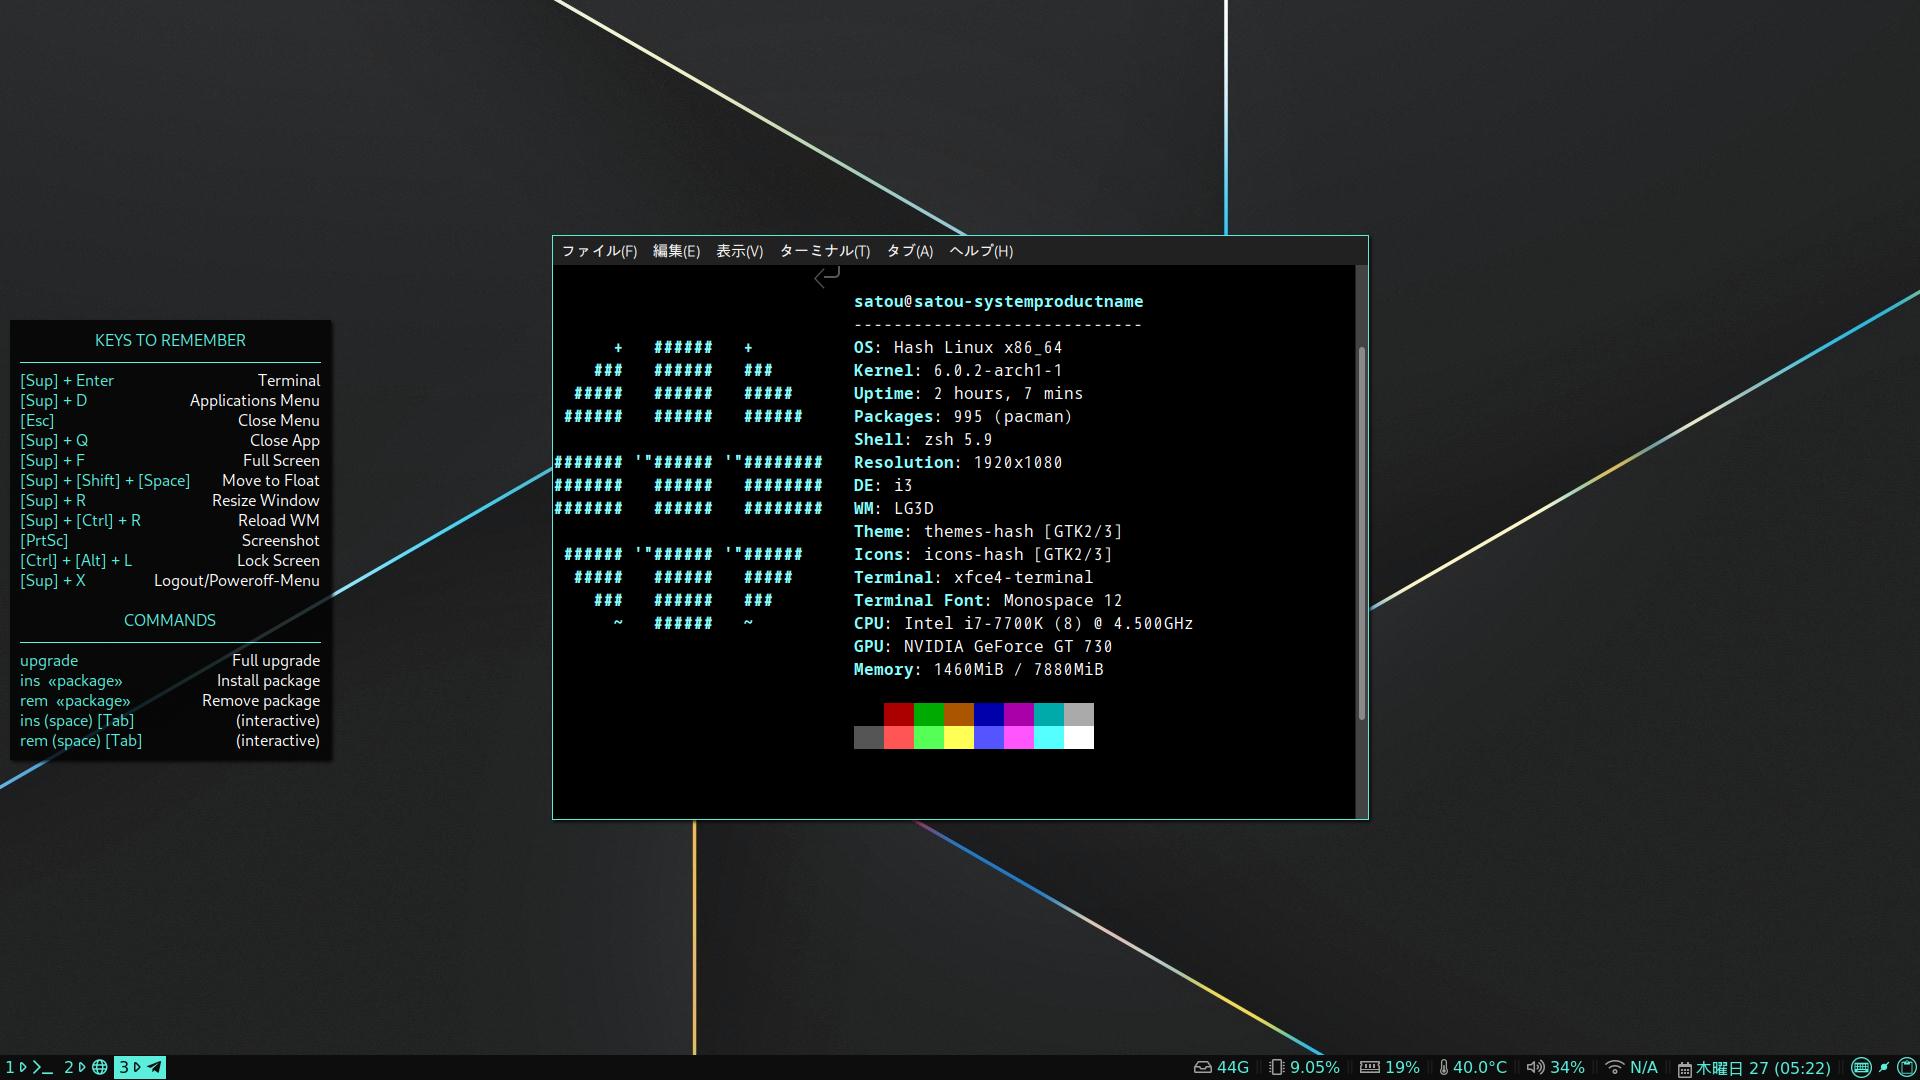
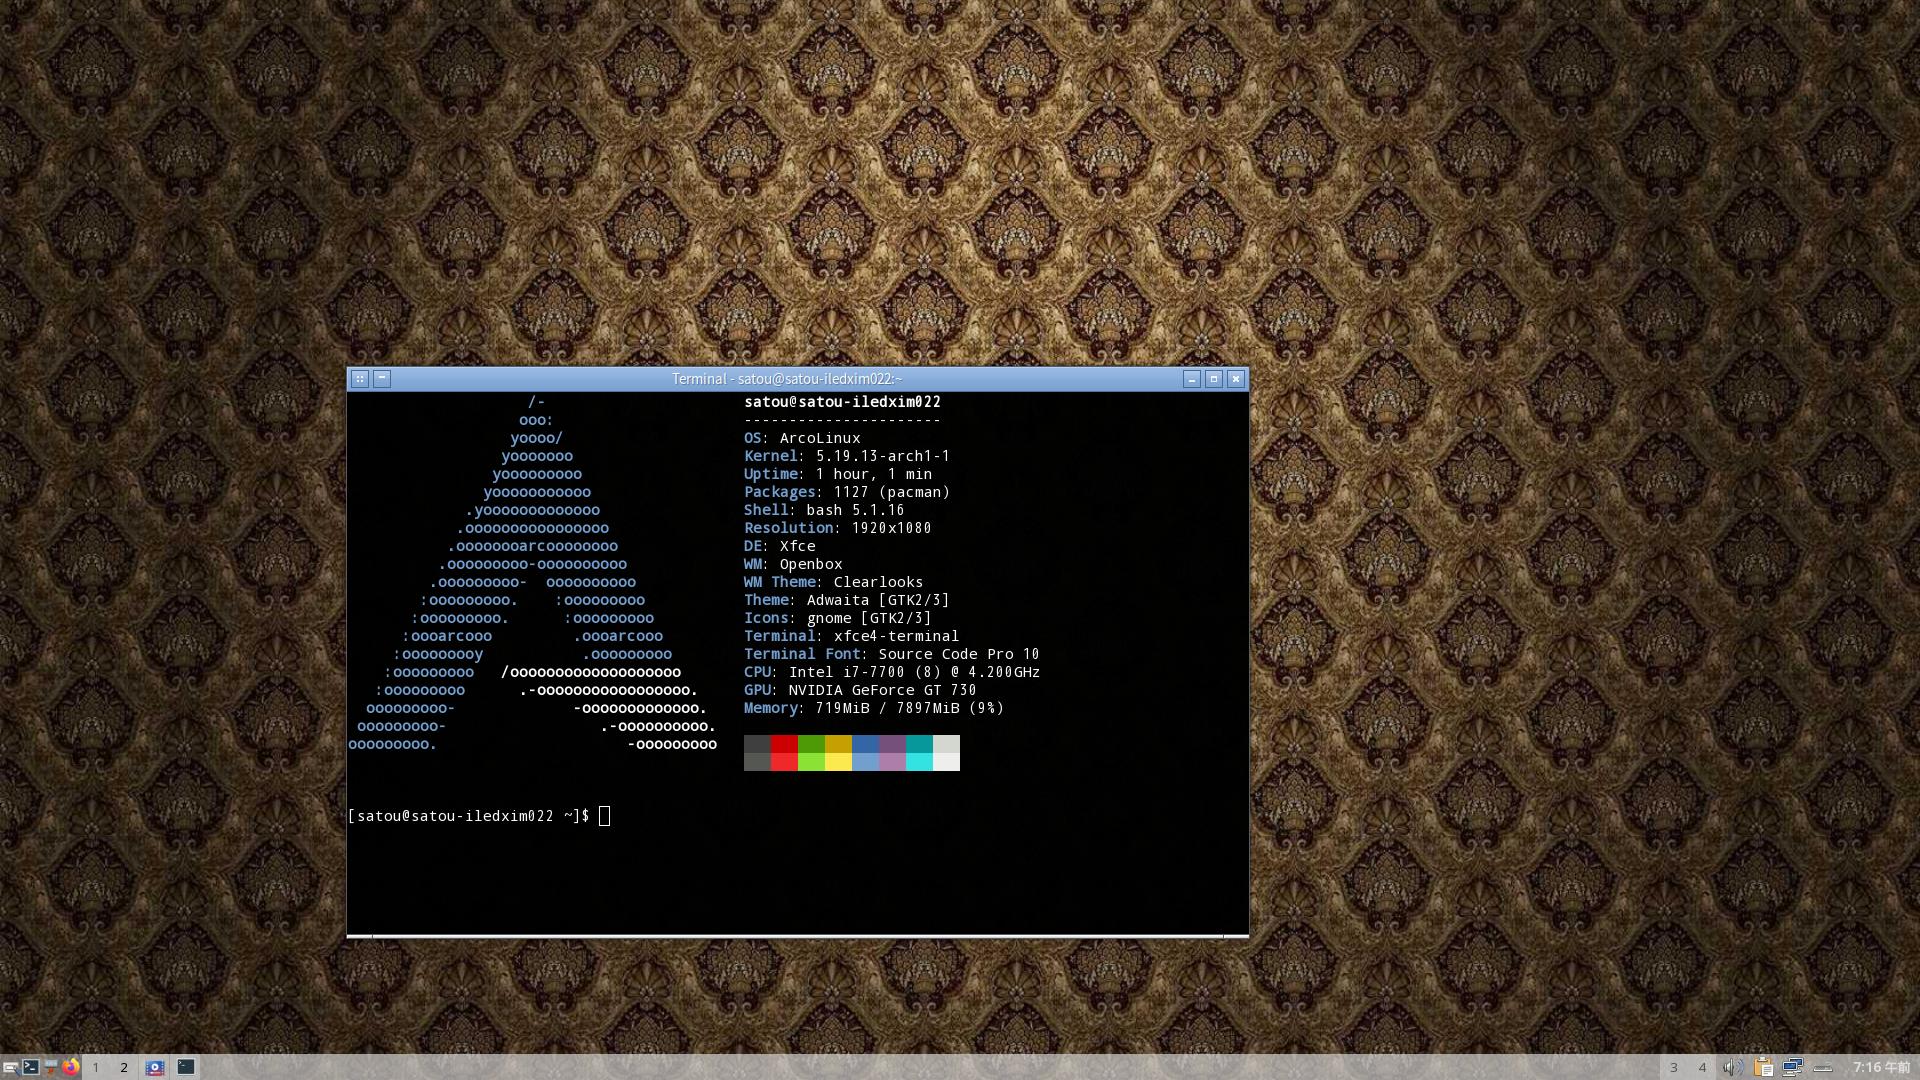
neofetch
mirage
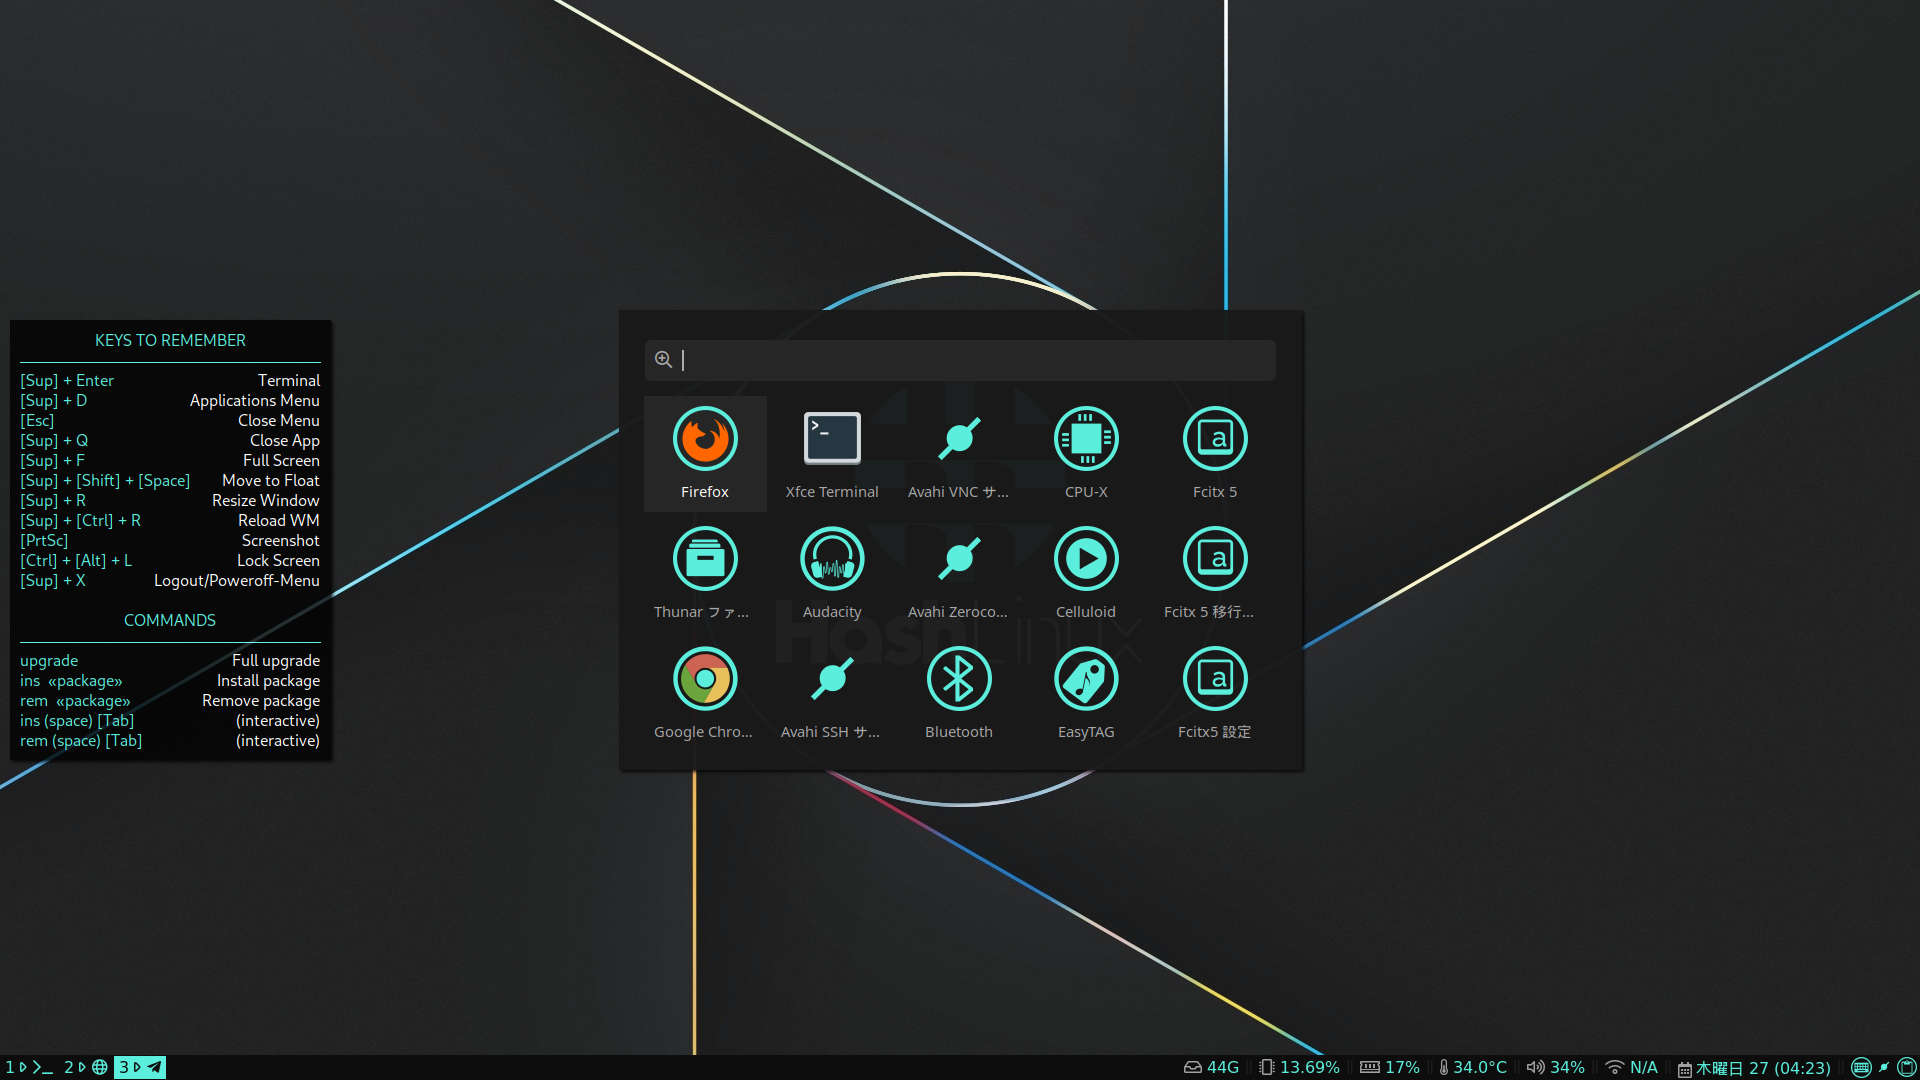
dmenu
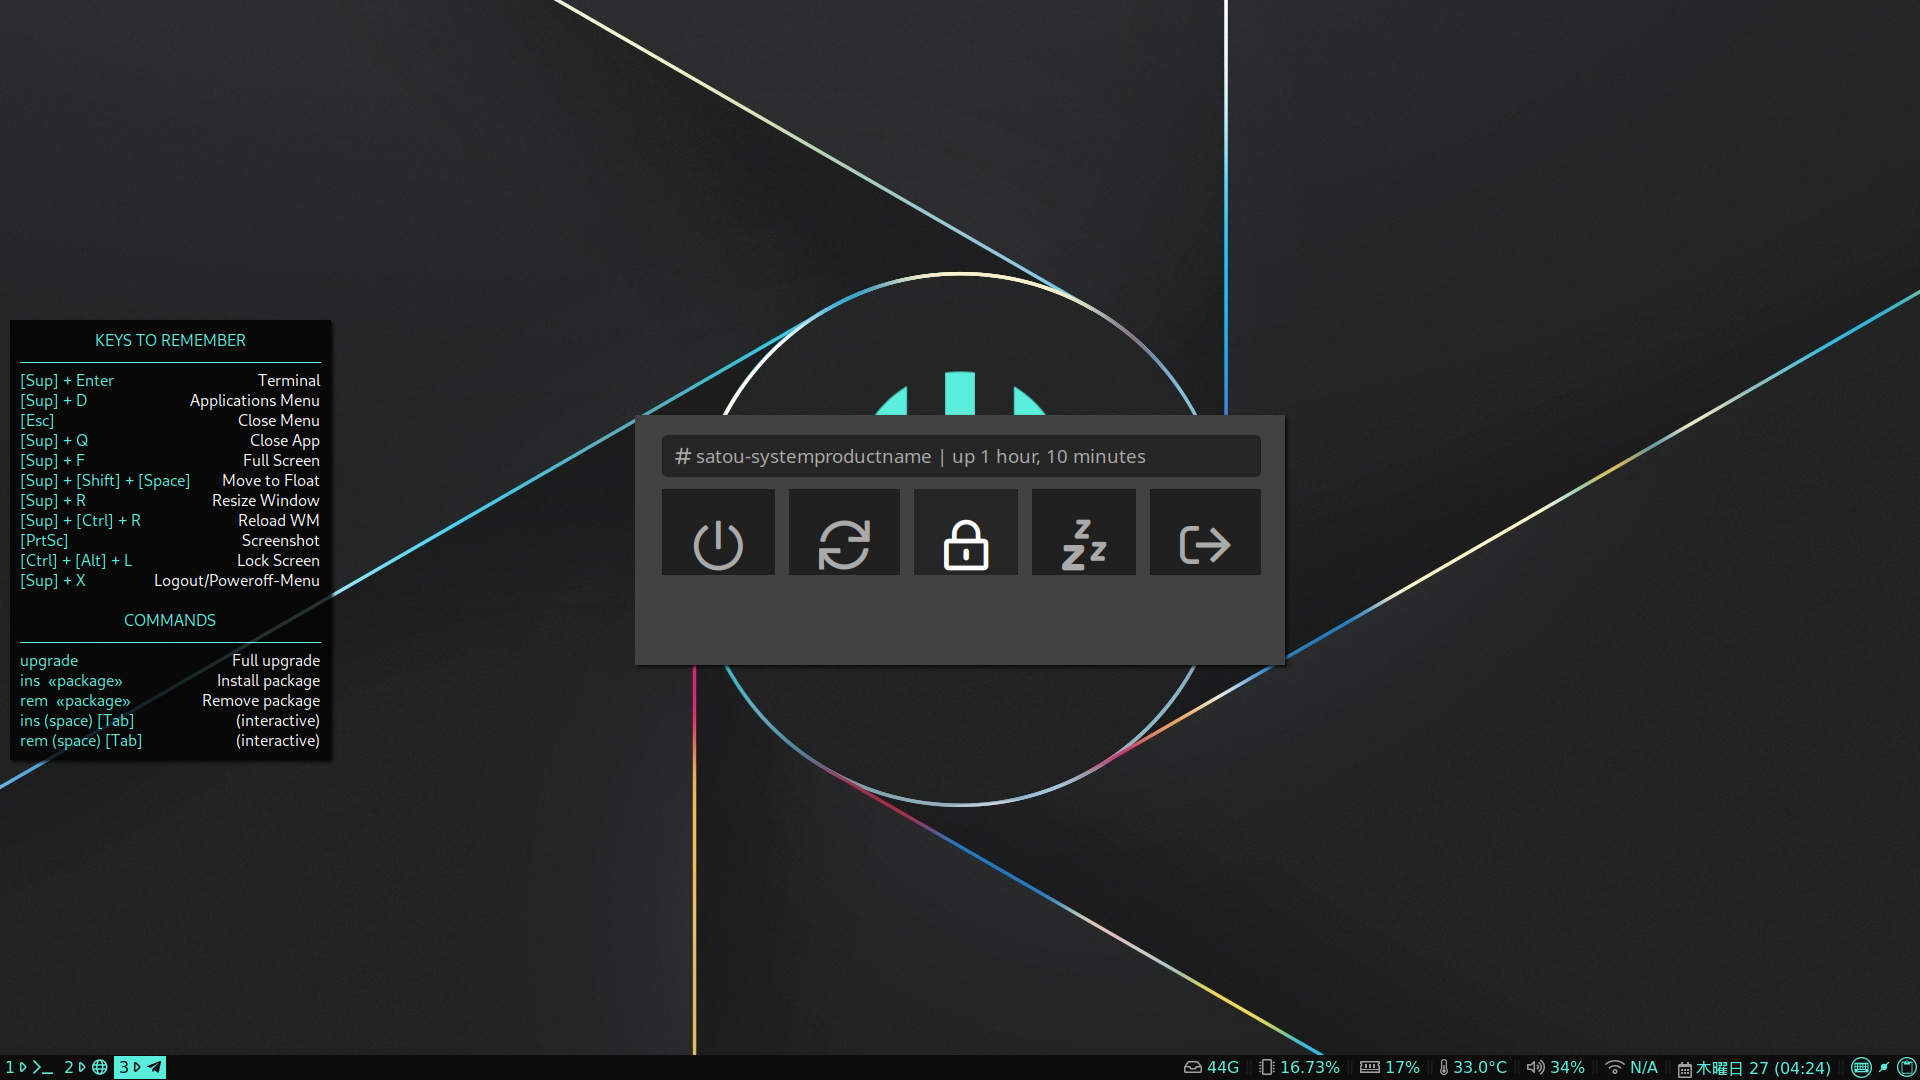
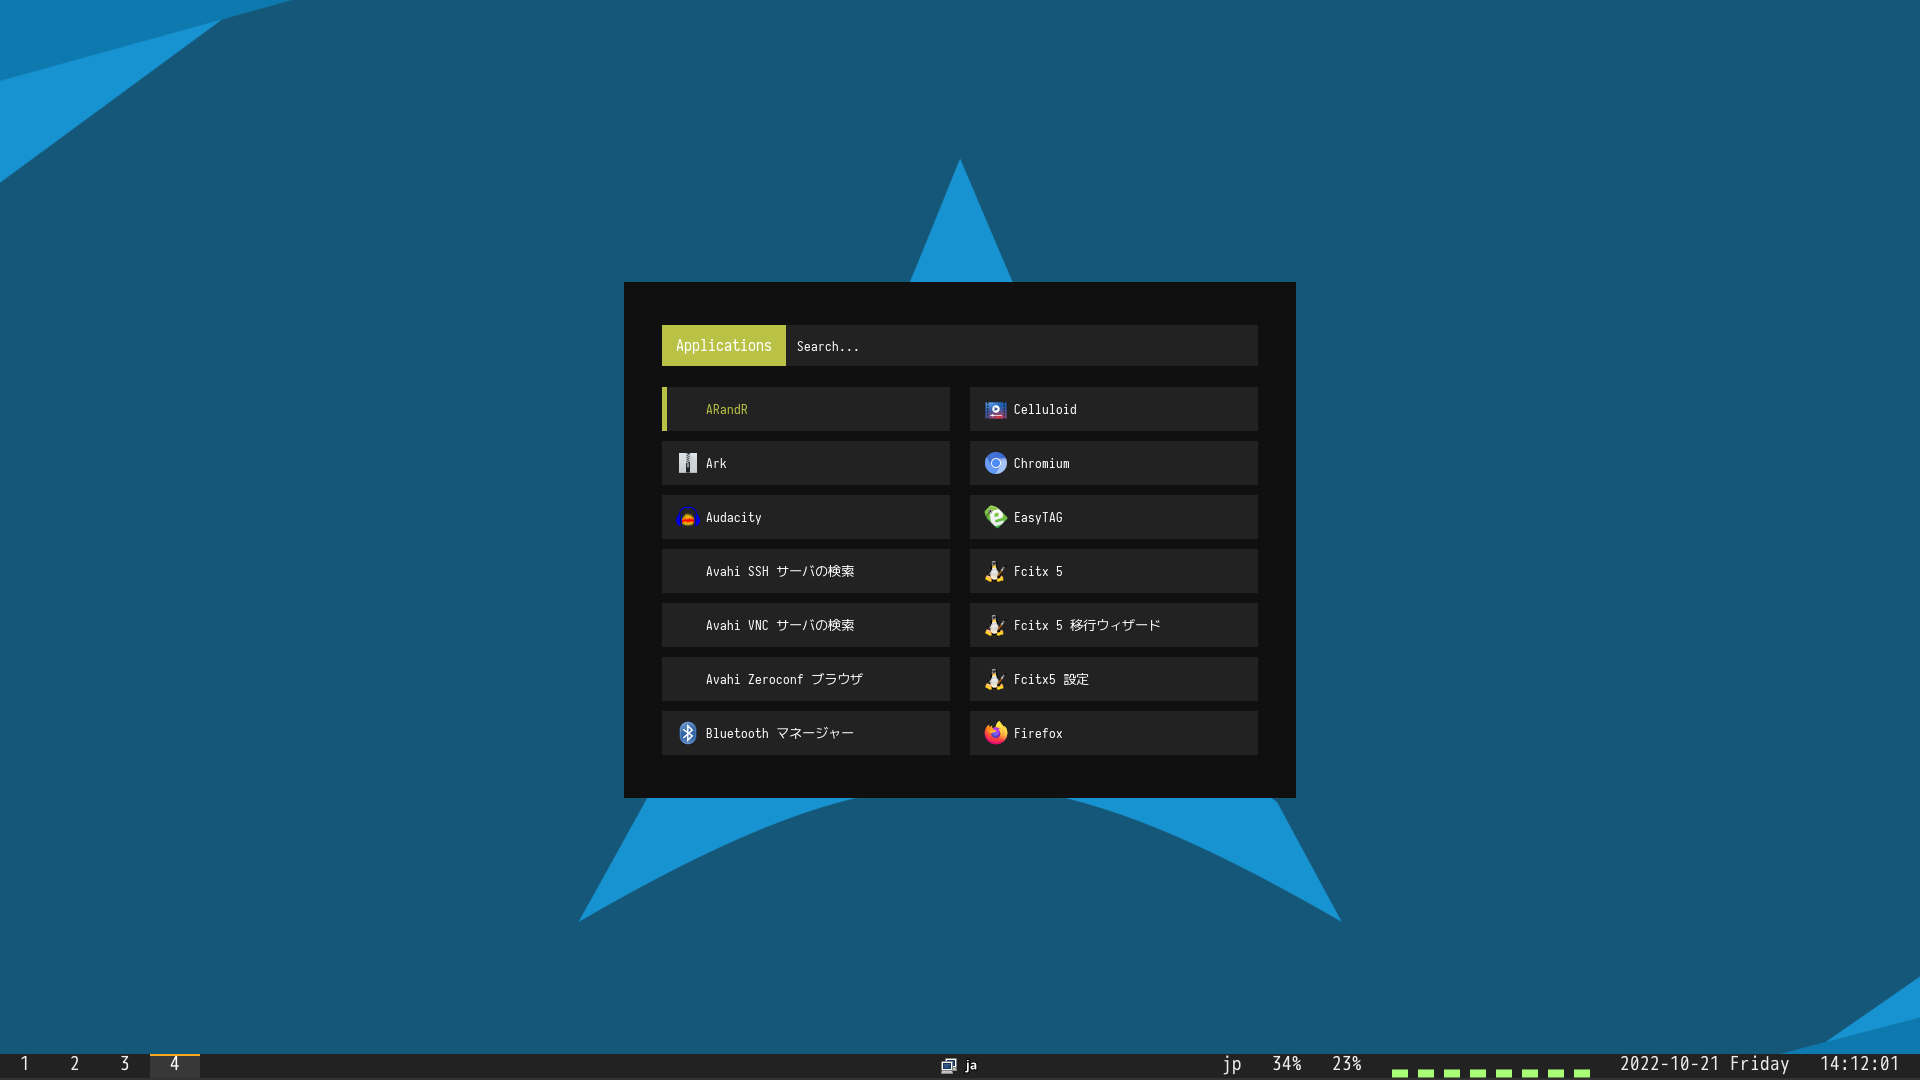
logout
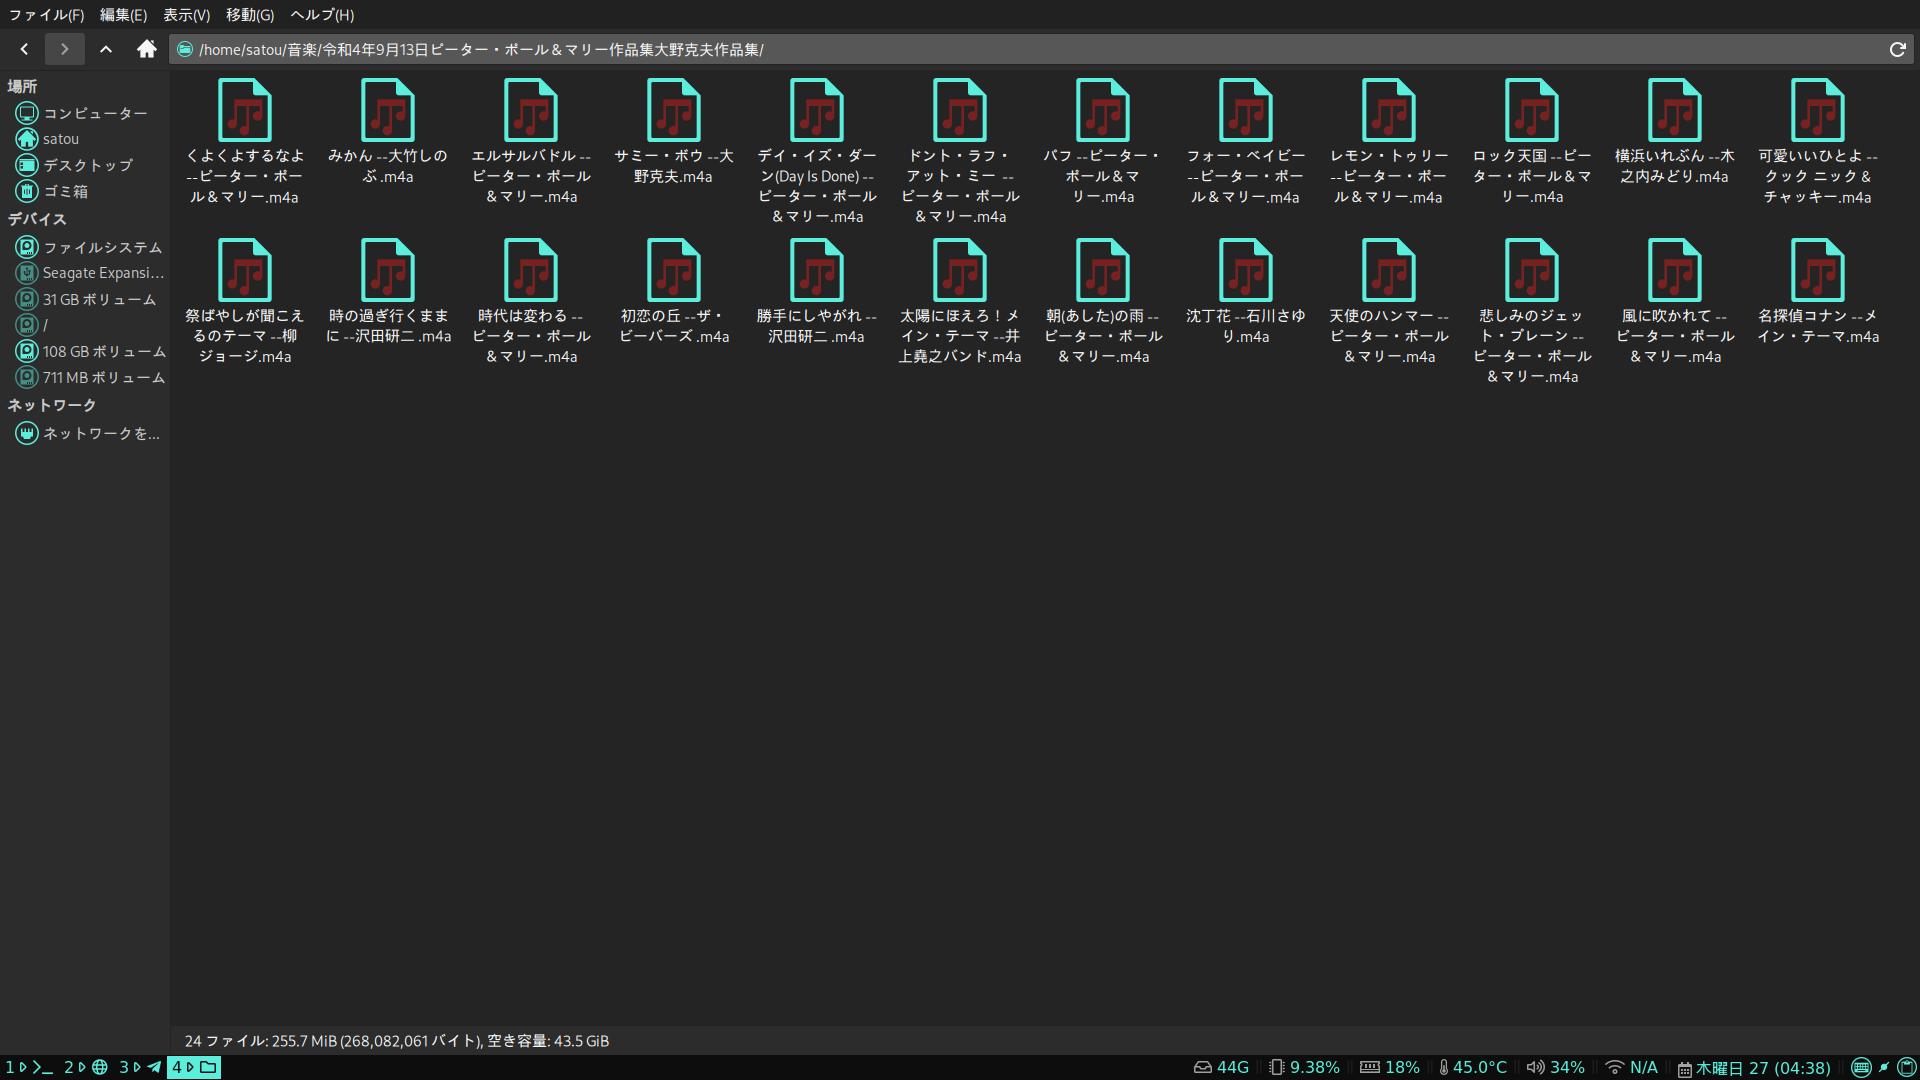
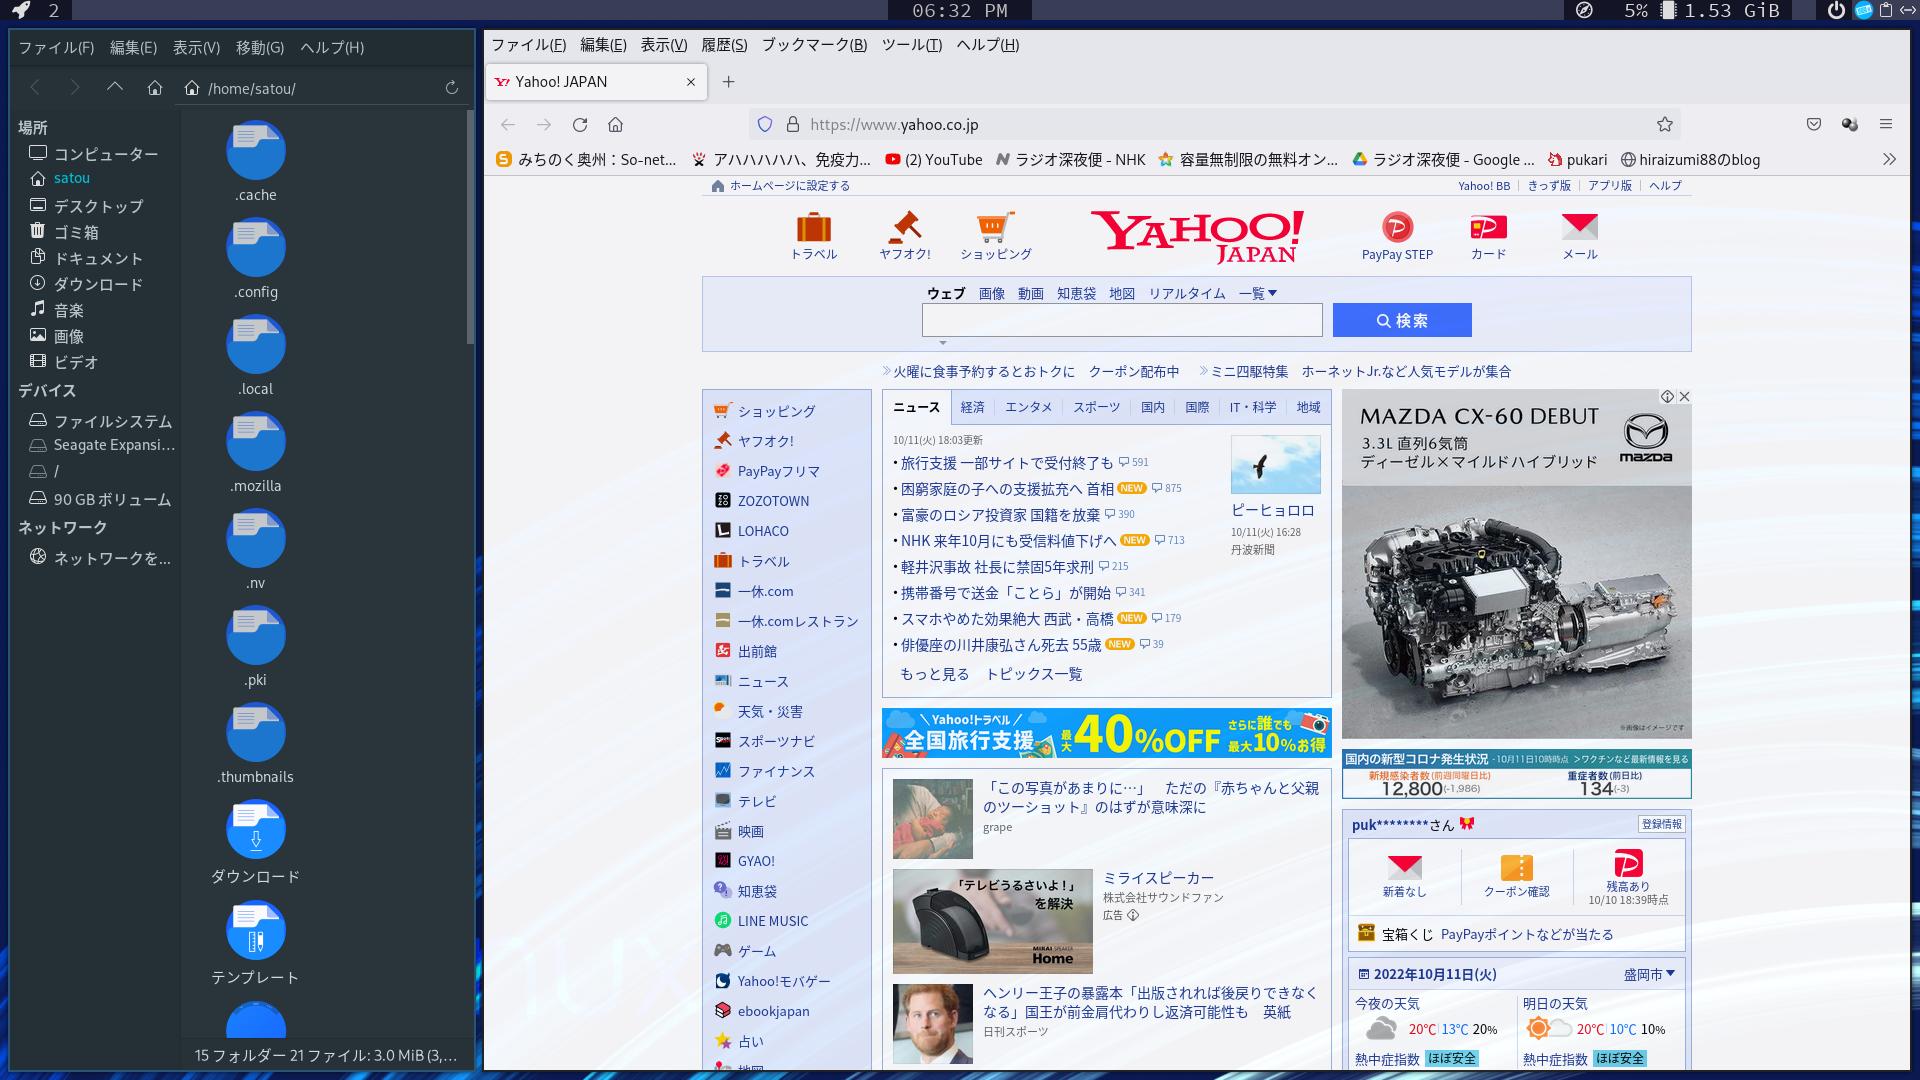
音楽フォルダ

rofiのフォルダ
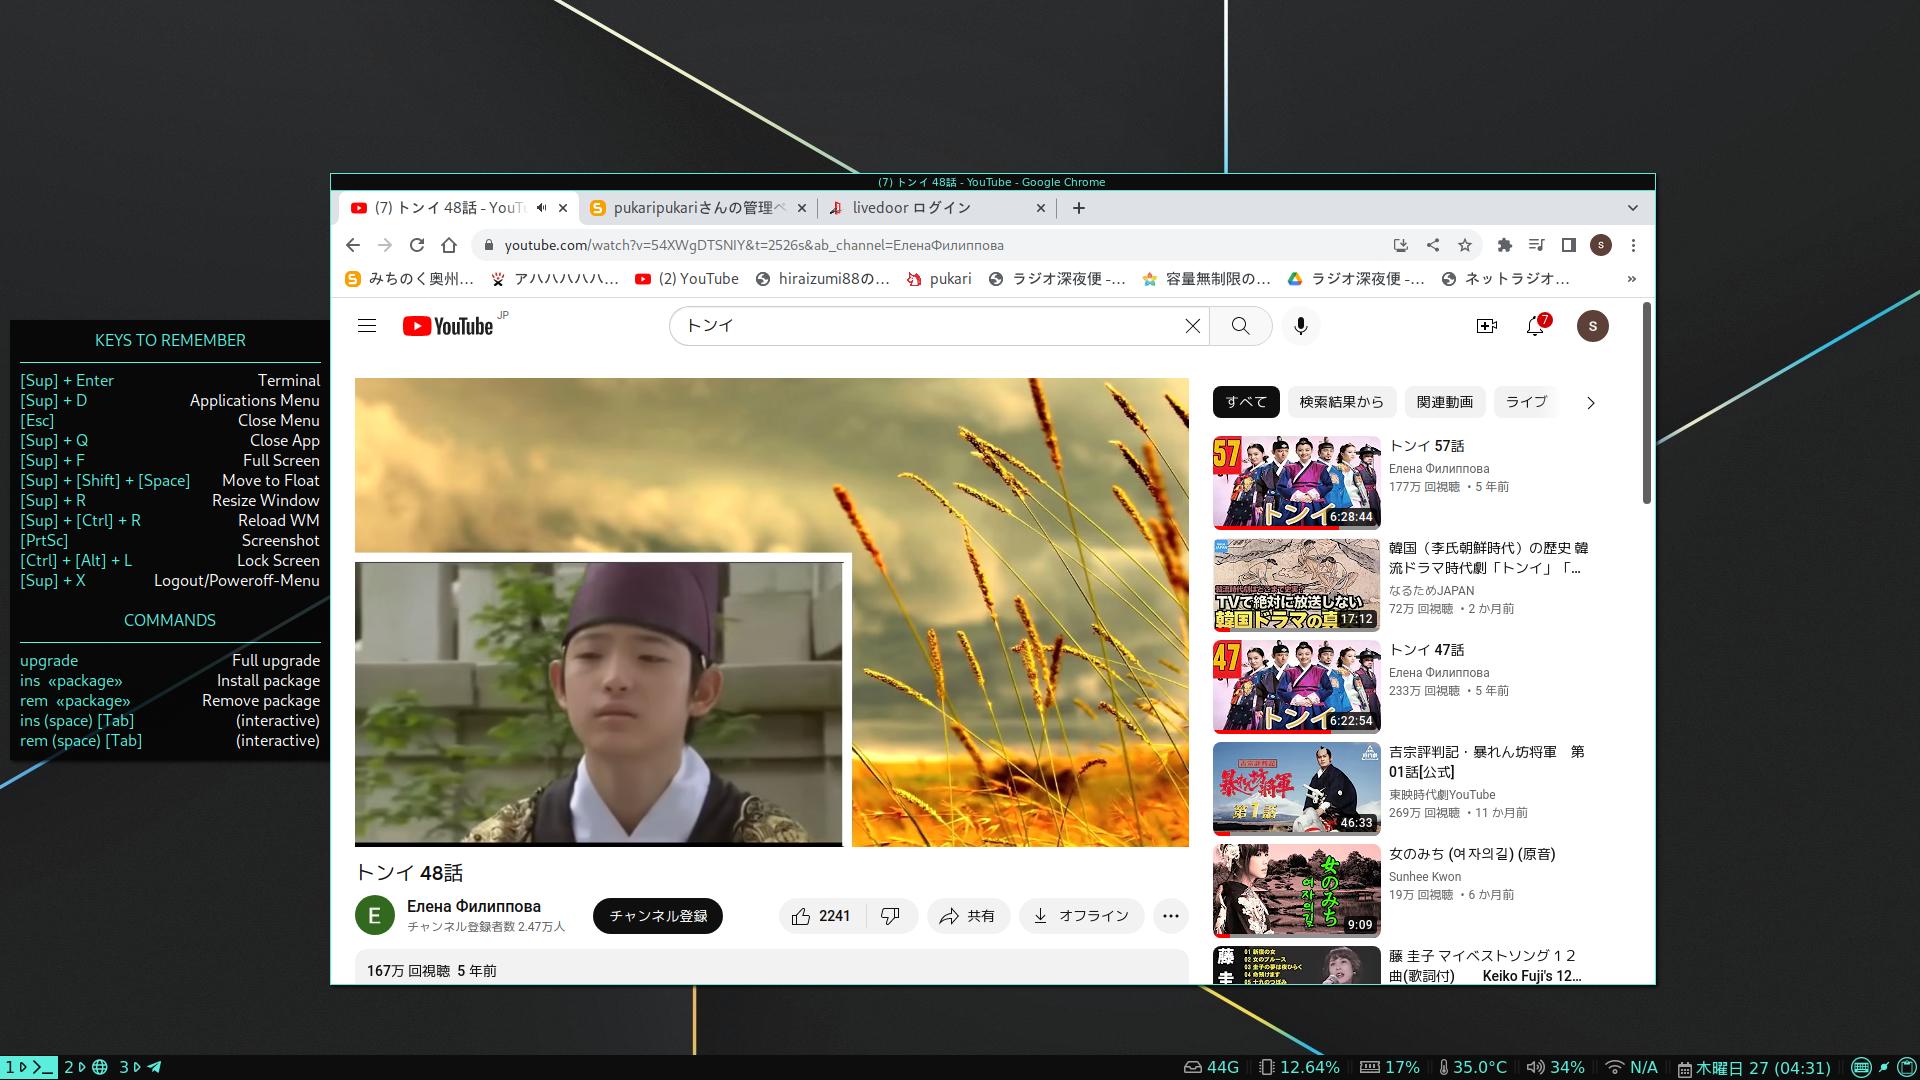
トンイ
firefoxをフローテングさせてみました。
firefoxを開いてから以下のキーを同時押しする。modキーとはwinキーのこと。
bindsym $mod+Shift+space floating toggle
2022-10-27 18:46
nice!(0)
archlinux 13 [arch系]
archlinux 13 2022-10-21
あいもかわらずlinuxであそんでいます
お仕事の方はご苦労さまです
今回の私のパソコン環境 osは archlinux i3 ウインドーマネージャー
CPU: Intel i7-7700K (8) @ 4.500GHz
GPU: NVIDIA GeForce GT 730
monitor: HDMI接続
Calam-Arch-Installer-2022-10.iso
arch linux archご本家 カナダ製。
archlinuxのインストールに、Calam-Arch-Installerを初使用。
Calam-Arch-Installerは、多少もんだいがありますがなかなかのものでしょう。
インストールのとき日本語フォントが入ってません。端末を開き sudo pacman -S otf-ipafont
linuxの # gnome-disks を使用してusbメモリーに書き込み、ssdにインストールした。
インストールの途中でデスクトップ選択画面になります。i3-wm、 webbrowserを選択して進んだ。
インストール終了後 localeに問題があります。修正。
sudo pacman -Sy
sudo pacman -S otf-ipafont
sudo nano /etc/locale.conf
LANG=ja_JP.UTF-8
LC_ADDRESS=ja_JP.UTF-8
LC_IDENTIFICATION=ja_JP.UTF-8
LC_MEASUREMENT=ja_JP.UTF-8
LC_MONETARY=ja_JP.UTF-8
LC_NAME=ja_JP.UTF-8
LC_NUMERIC=ja_JP.UTF-8
LC_PAPER=ja_JP.UTF-8
LC_TELEPHONE=ja_JP.UTF-8
LC_TIME=ja_JP.UTF-8
sudo reboot
◯ここから i3ウインドーマネージーを自分仕様にする。
インストールしたもの
sudo pacman -S xfce4-terminal thunar scrot base-devel fcitx5-im fcitx5-mozc fcitx5-configtool libvoikko nuspell easytag celluloid gimp yt-dlp git polybar rofi i3-gaps nitrogen
nano ~/.xprofile
export GTK_IM_MODULE=fcitx5
export QT_IM_MODULE=fcitx5
export XMODIFIERS=@im=fcitx5
yayのインストール
git clone https://aur.archlinux.org/yay.git
cd yay
makepkg -si
yay -S otf-takao ttf-nanum mirage google-chrome noto-fonts-cjk onlyoffice-bin ttf-vlgothic ttf-unifont dina-font siji-git awesome-terminal-fonts ttf-ricty
audacityのインストール
yay snapd
sudo systemctl enable --now snapd.socket
sudo systemctl enable --now snapd.apparmor
sudo ln -s /var/lib/snapd/snap /snap
sudo snap install audacity
◯polybar と rofi の設定
polybarのダウンロード
rofiのダウンロード
おのおの解凍しておのおの設定する。
polybarの設定でハマったところとか。
~/ダウンロード/i3-polybar-config-master/i3/2のフォルダを使用。
nano ~/.config/polybar/launch.sh 変更箇所
MONITORS=$MONITORS polybar top &
#MONITOR=$MONITORS polybar bottom;
nano ~/.config/polybar/config 変更箇所
[bar/top]
bottom = true
enable-ipc = true
monitor = ${env:MONITOR:HDMI-1}
rofiの設定。
dmenuのかわりに ~/.config/rofi/launchers/colorful/launcher.sh を使用
i3 ログアウトのかわりに ~/.config/rofi/powermenu/powermenu.sh を使用
powermenu.shの編集 小文字y 大文字Y をそれぞれ削除。yの入力なしにするため。
nano ~/.config/rofi/powermenu/powermenu.sh
64行から103行
nano ~/.config/i3/config 編集、変更。
modは、winキーのことです。
windowsキー + page up windowsキー + page downキー alt+F4キー printキー
ーーーーーーーーーーーーーーーーーーーーーーーーーーーーーーーー
gaps inner 0
gaps outer 0
smart_gaps on
exec --no-startup-id lxpolkit
exec --no-startup-id fcitx5
exec --no-startup-id nitrogen --restore
bindsym $mod+Return exec xfce4-terminal
bindsym $mod+Shift+w exec firefox
bindsym $mod+Shift+f exec thunar
# kill focused window
bindsym $mod+Shift+q kill
bindsym mod1+F4 kill
bindsym Print exec --no-startup-id scrot 'archLinux_%Y-%m-%d-%S_$wx$h.jpg' -e 'mv $f $$(xdg-user-dir PICTURES)'
bindsym $mod+Prior workspace prev
bindsym $mod+Next workspace next
bindsym $mod+d exec --no-startup-id ~/.config/rofi/launchers/colorful/launcher.sh
bindsym $mod+Shift+e exec ~/.config/rofi/powermenu/powermenu.sh
bar {
font pango: Noto Sans Regular 12
i3bar_command $HOME/.config/polybar/launch.sh
}
ーーーーーーーーーーーーーーーーーーーーーーーーーーーーーーーーーーーーーーーー
Calam-Arch-Installerは、ちょっと問題があったものの概ね良好でしょう。
おかげさまで、最新のarchlinux i3ウインドーマネージャーが完成しました。
以下参考画像
i3
neofetch
rofi launcher.sh
rofi powermenu.sh
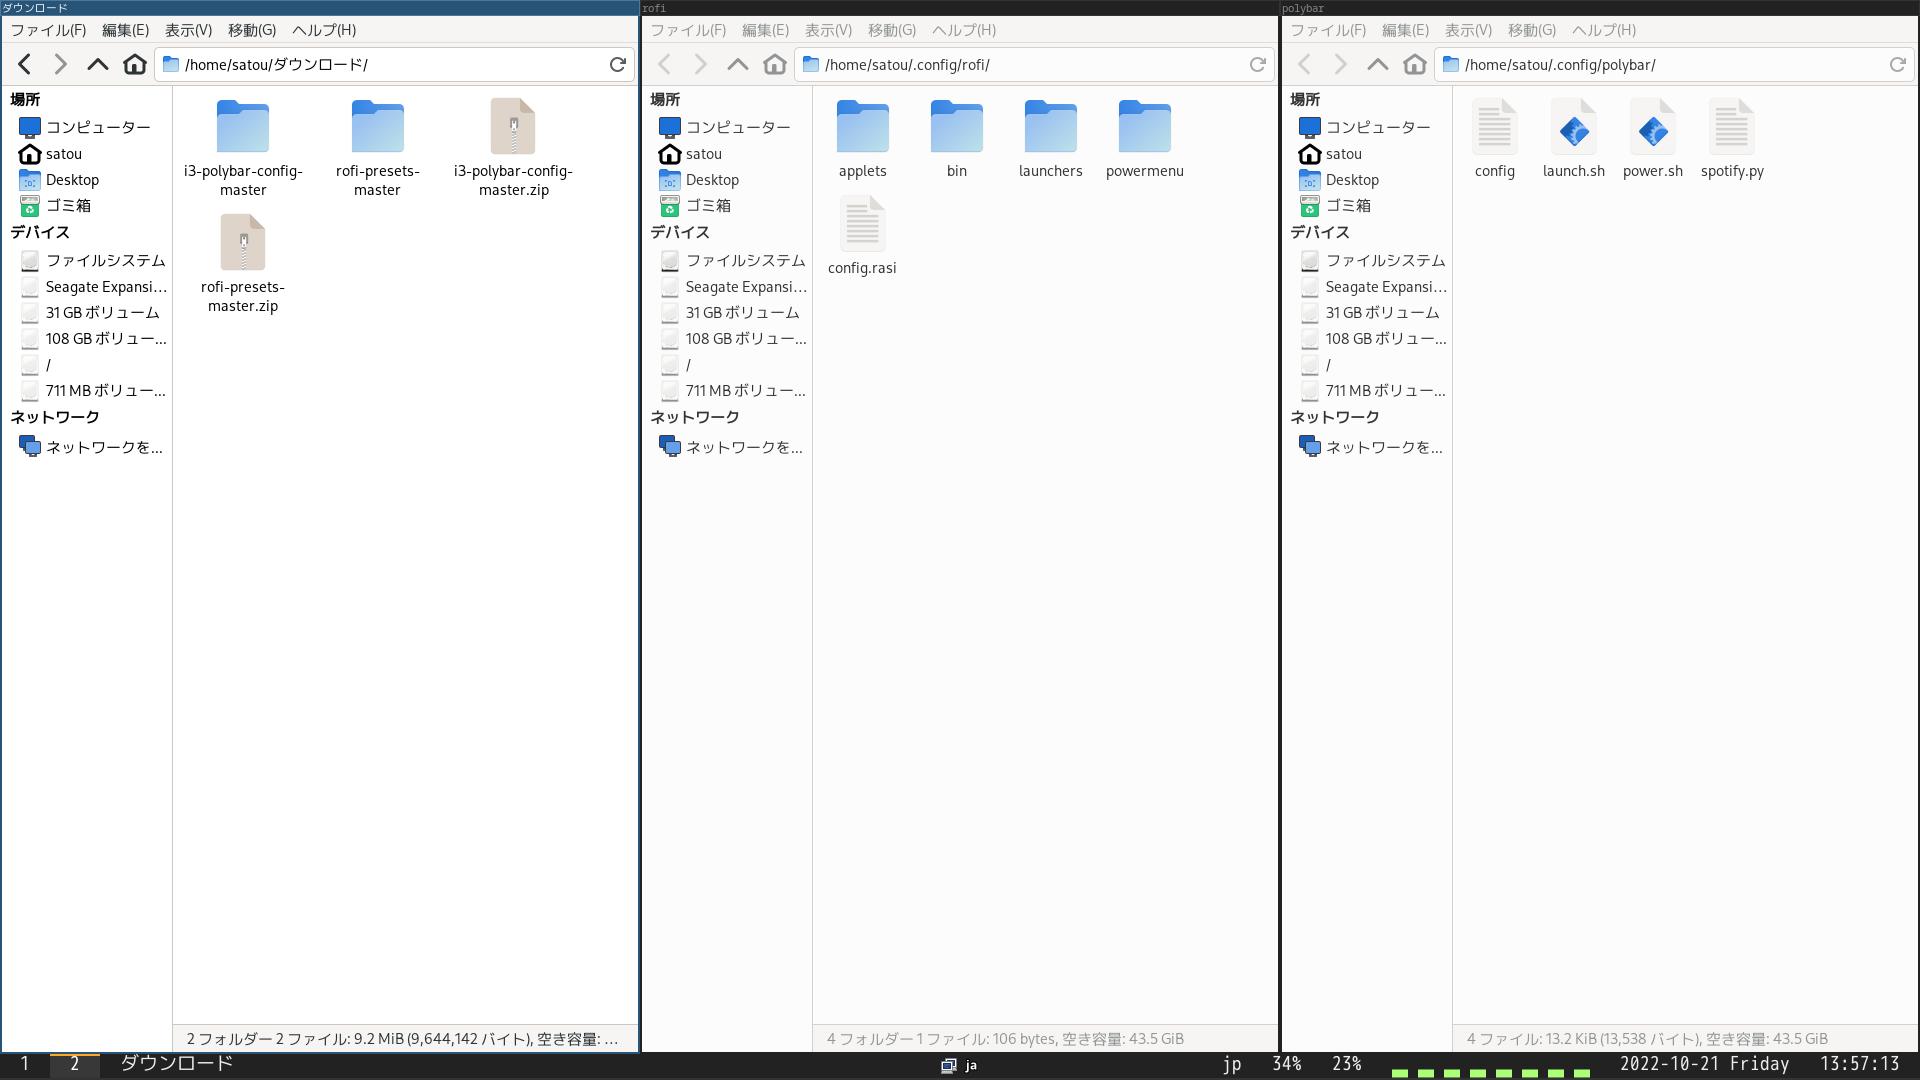
ダウンロード、rofi、polybar のフォルダの画像
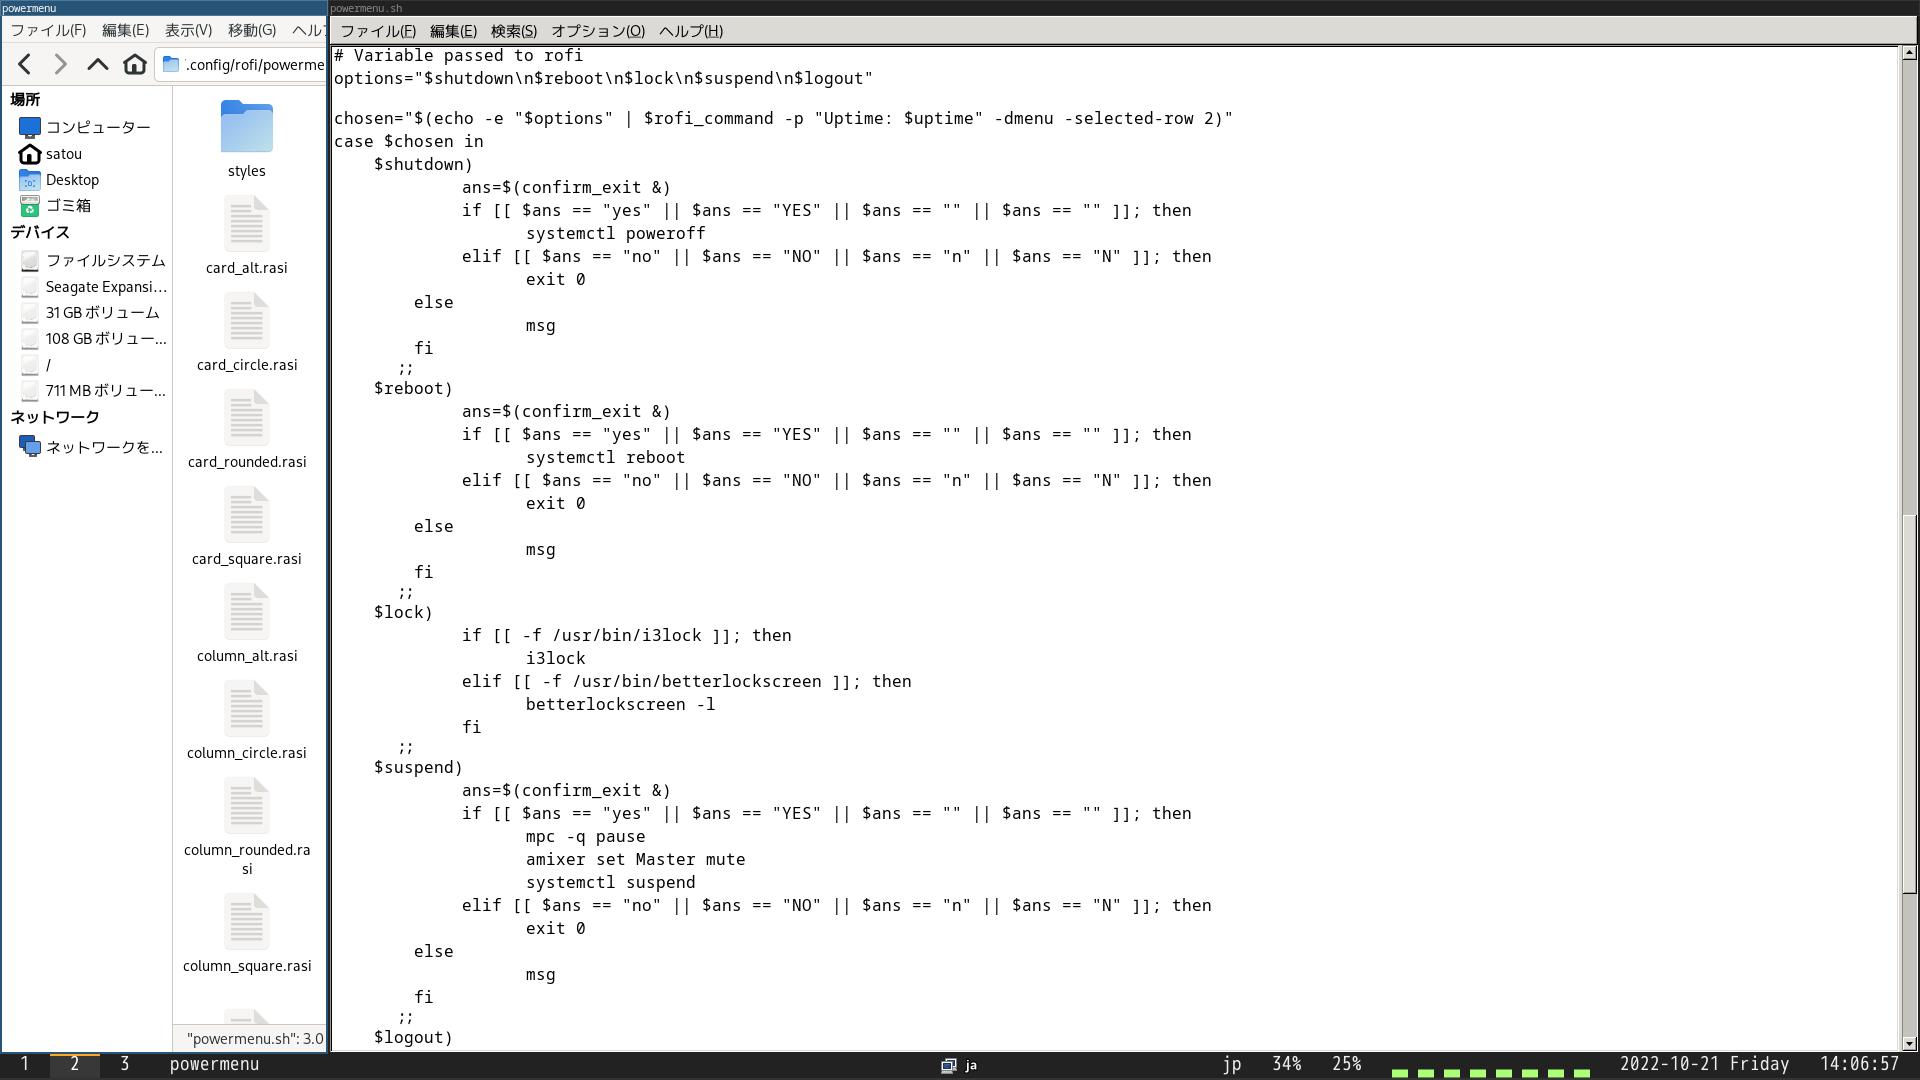
powermenu.shの編集 小文字y 大文字Y をそれぞれ削除。yの入力なしにするため。
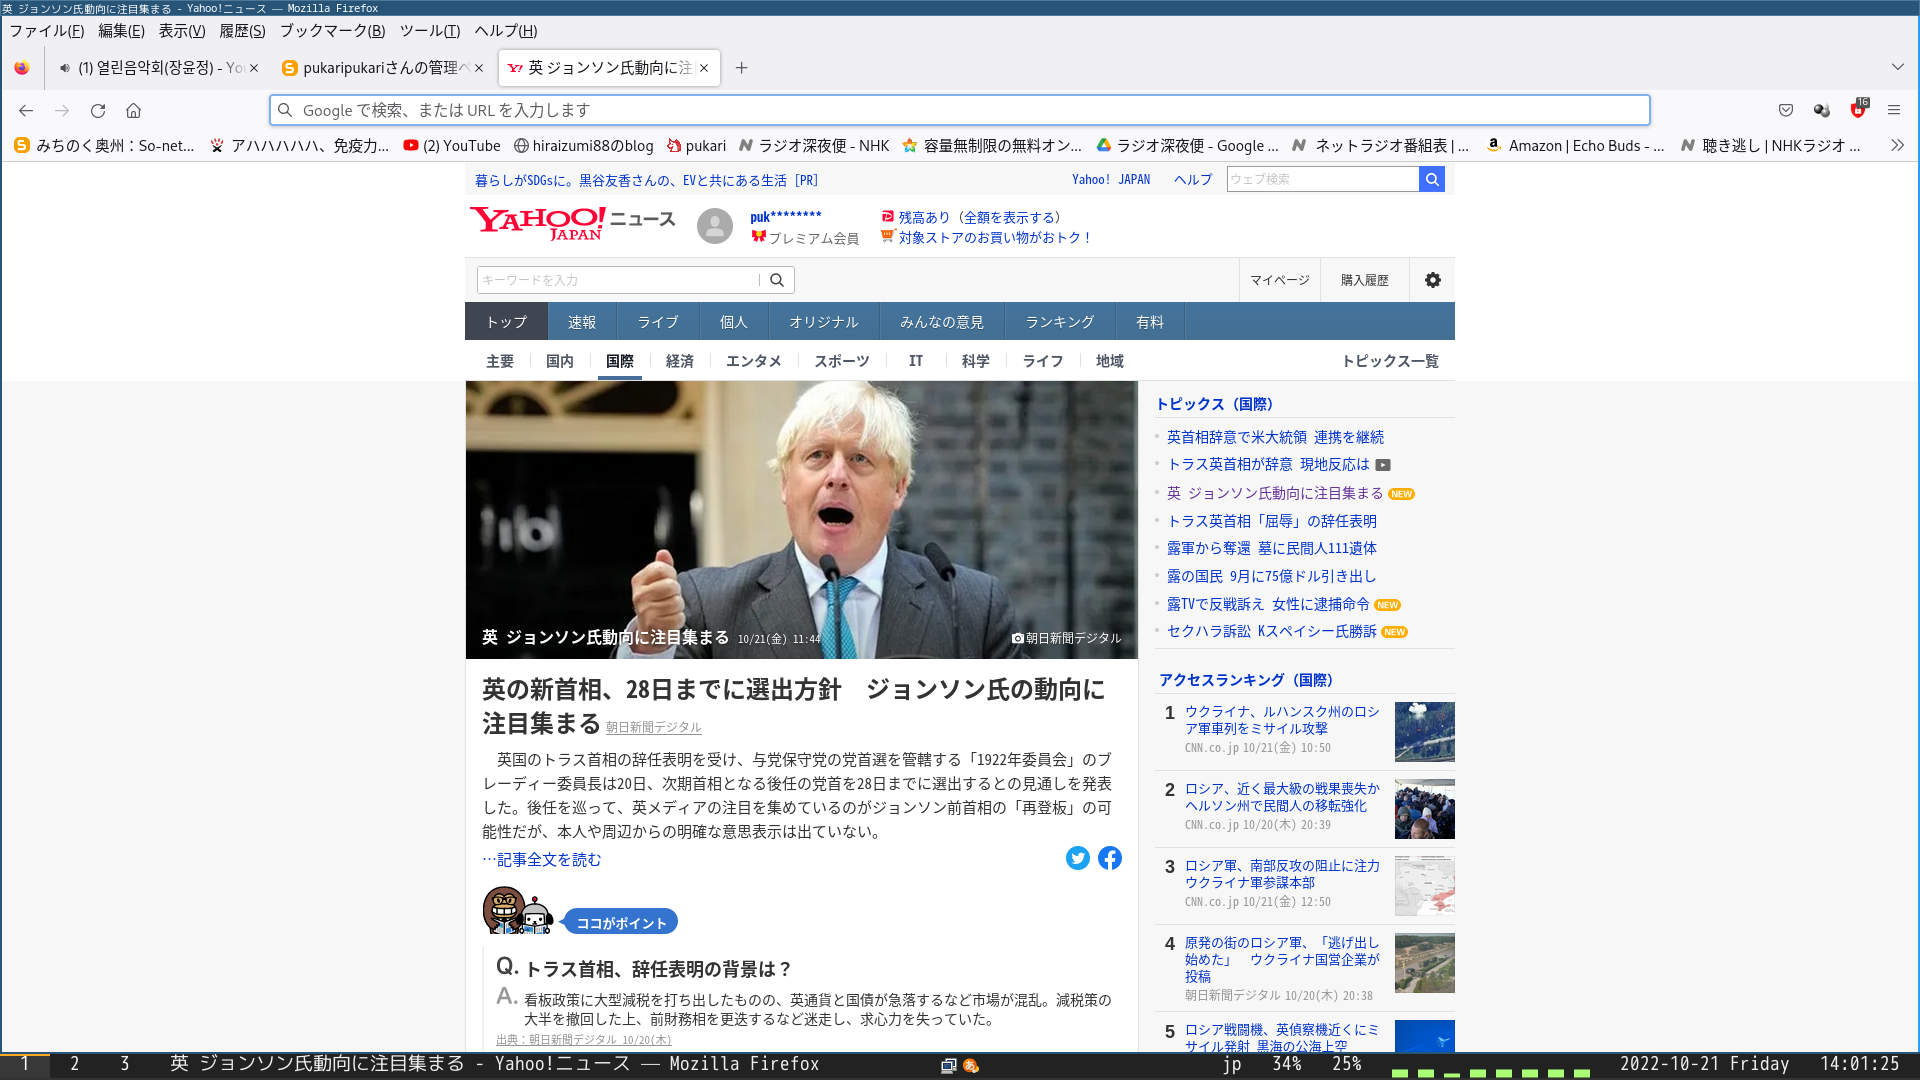
ジョンソン氏 polybarにmozcのアイコンがでています。
https://www.youtube.com/watch?v=ogm8TVyE5Oc&list=RDMMisBQFUAv5EI&index=4
https://www.youtube.com/watch?v=ogm8TVyE5Oc&list=RDMMisBQFUAv5EI&index=4
旧友
https://www.youtube.com/watch?v=ogm8TVyE5Oc&list=RDMMogm8TVyE5Oc&start_radio=1
タグ:archlinux 13
2022-10-21 14:08
nice!(0)
alterlinux + i3 fcitx [arch系]
alterlinux + i3 2022-10-11
あいもかわらずlinuxであそんでいます
お仕事の方はご苦労さまです
CPU: Intel i7-7700 (8) @ 4.200GHz
GPU: NVIDIA GeForce GT 730
alterlinux-i3-ja-20220718-2e8533d0-x86_64.iso
あいもかわらずlinuxであそんでいます
お仕事の方はご苦労さまです
CPU: Intel i7-7700 (8) @ 4.200GHz
GPU: NVIDIA GeForce GT 730
alterlinux-i3-ja-20220718-2e8533d0-x86_64.iso
usbメモリーから起動してssdにインストールした。
alterlinuxは arch系 日本製。
日本語入力 fcitx-mozc
最初の起動で案内のような画面がでています。必要なさそうなので、mod+shift+q(winキー+shift+q)
そしてターミナルをだそう。mod+retern(winキー+enter)
sudo apt update
sudo apt install archlinux-keyring
sudo apt upgrade
そしてターミナルをだそう。mod+retern(winキー+enter)
sudo apt update
sudo apt install archlinux-keyring
sudo apt upgrade
sudo apt install firefox leafpad xfce4-terminal easytag celluloid gimp yt-dlp scrot
yay -S otf-takao ttf-nanum mirage google-chrome noto-fonts-cjk onlyoffice-bin ttf-vlgothic
audacityのインストール
sudo snap install audacity
qt5の不具合のため再インストール
yay qt5-styleplugins
conkyの設定
conky を下に移動、透過なしにする。
◯nano ~/.config/conky/conky.conf
15行
alignment = 'bottom_left',
20行
own_window_transparent = false,
希望通りうごくかどうかわからなかったが、記入してみた。
すんなりうごいてびっくりでしょう。
◯nano ~/.config/polybar/config.ini 一番下に追記
tray-detached = false
tray-offset-x = 0
tray-offset-y = 0
tray-padding = 2
tray-maxsize = 20
tray-scale = 1.0
tray-position = right
tray-background = ${colors.background}
windowsキーここでは、modと書いている。
i3の変更 windowsキー + page up windowsキー + page downキー alt+F4キー printキー を使えるようにする
◯nano ~/.config/i3/config 編集 行数は目安程度に
40行
exec --no-startup-id fcitx5
56行
bindsym $mod+Return exec --no-startup-id xfce4-terminal
60行
bindsym Print exec --no-startup-id scrot 'alterLinux_%Y-%m-%d-%S_$wx$h.jpg' -e 'mv $f $$(xdg-user-dir PICTURES)'
78行
bindsym $mod+Shift+w exec --no-startup-id firefox
85行
bindsym Mod1+F4 kill
193~194行
bindsym $mod+Prior workspace prev
bindsym $mod+Next workspace next
ひさしぶりに、i3 であそんでみました。
どうでしょうか polybarにfcitxのアイコンを表示してみました。
i3 のショットカットキーの案内がconky(日本語)で表示されます。◯
i3 は、ふだんショットカットキーを使わない方に違和感しかないでしょう。
ウインドウ縦並び、横並びにするには、2段階操作をします。
windowsキーここでは、modと書いている。
最初に mod+h とか mod+v を入力してから
つぎに目的のあぷりを開く。
アプリの境目を動かすには、 windowsキー + マウス右クリック
*
*
*
alterlinux 電源管理 で検索したら以下のサイト様が出てきました。
おかげ様で悩み解決です。ドストライクでしょう。
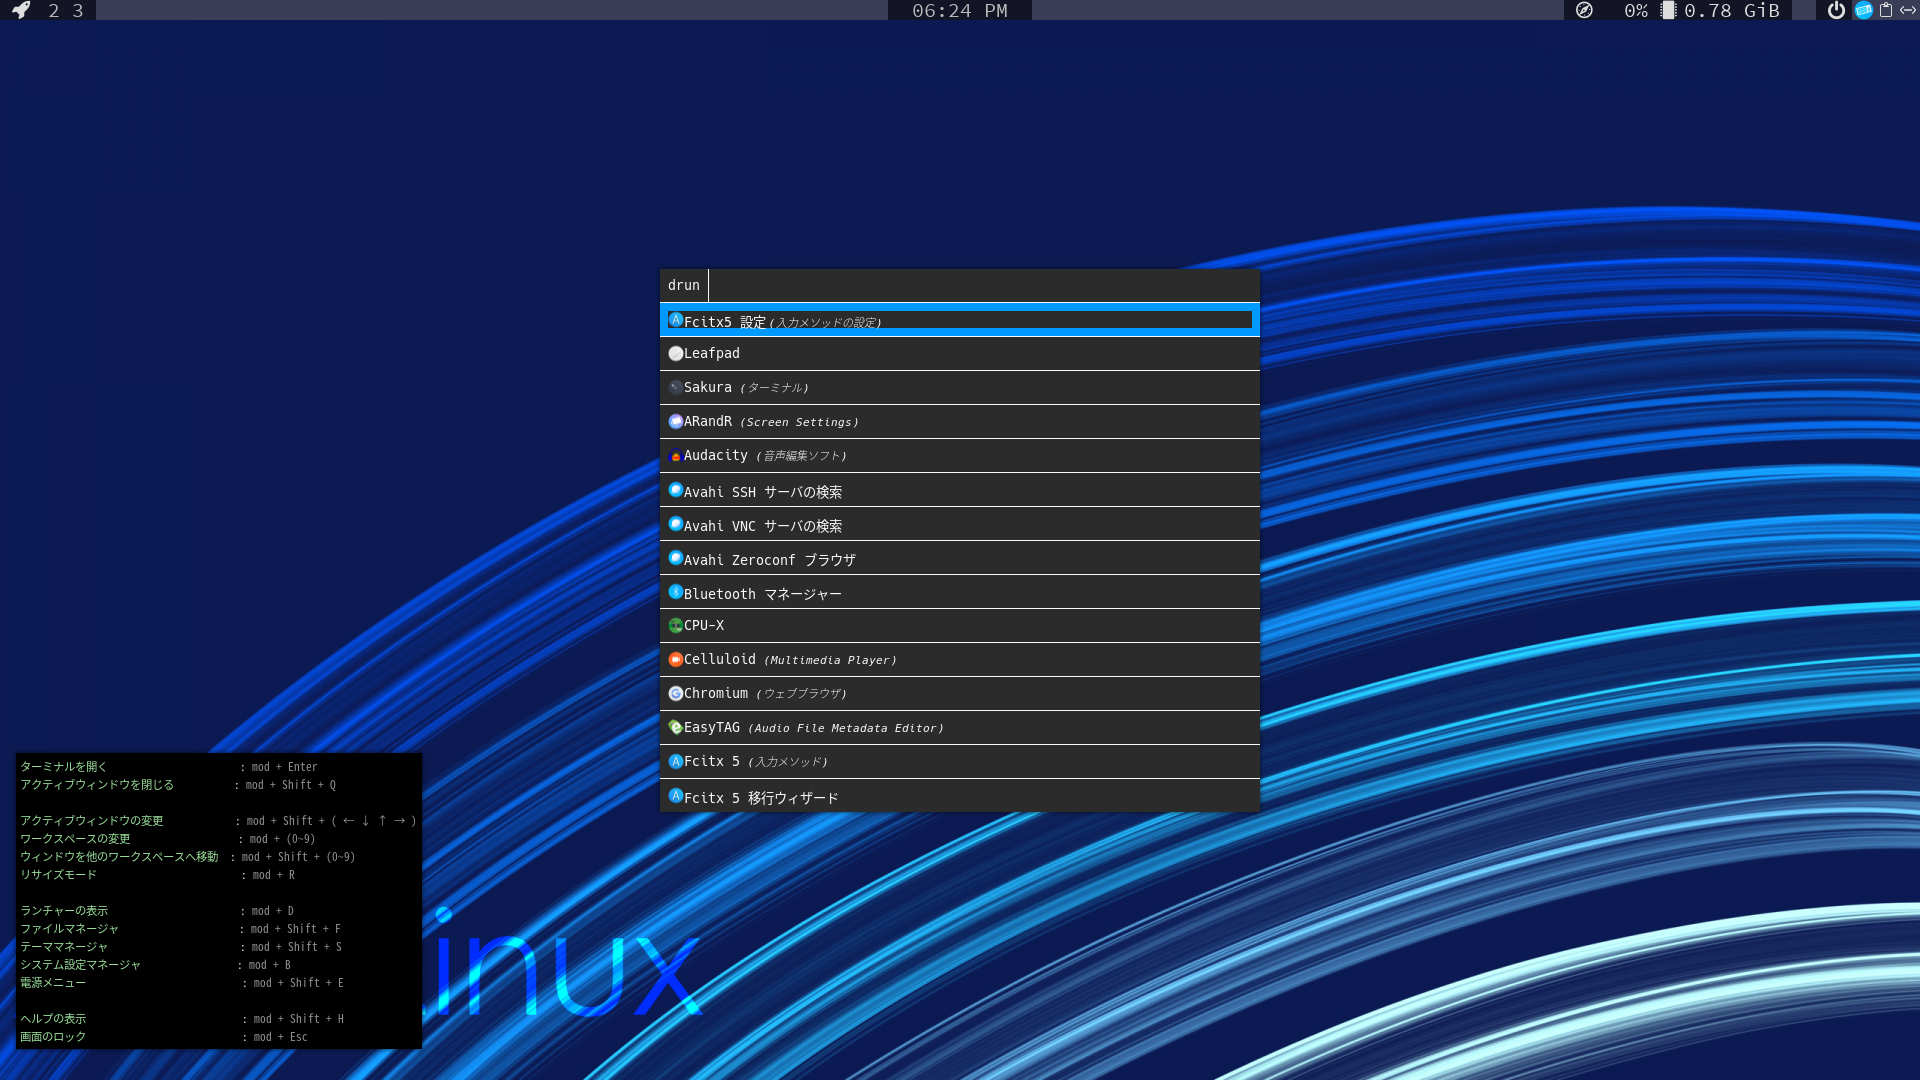
mod+d
mod+shift+e
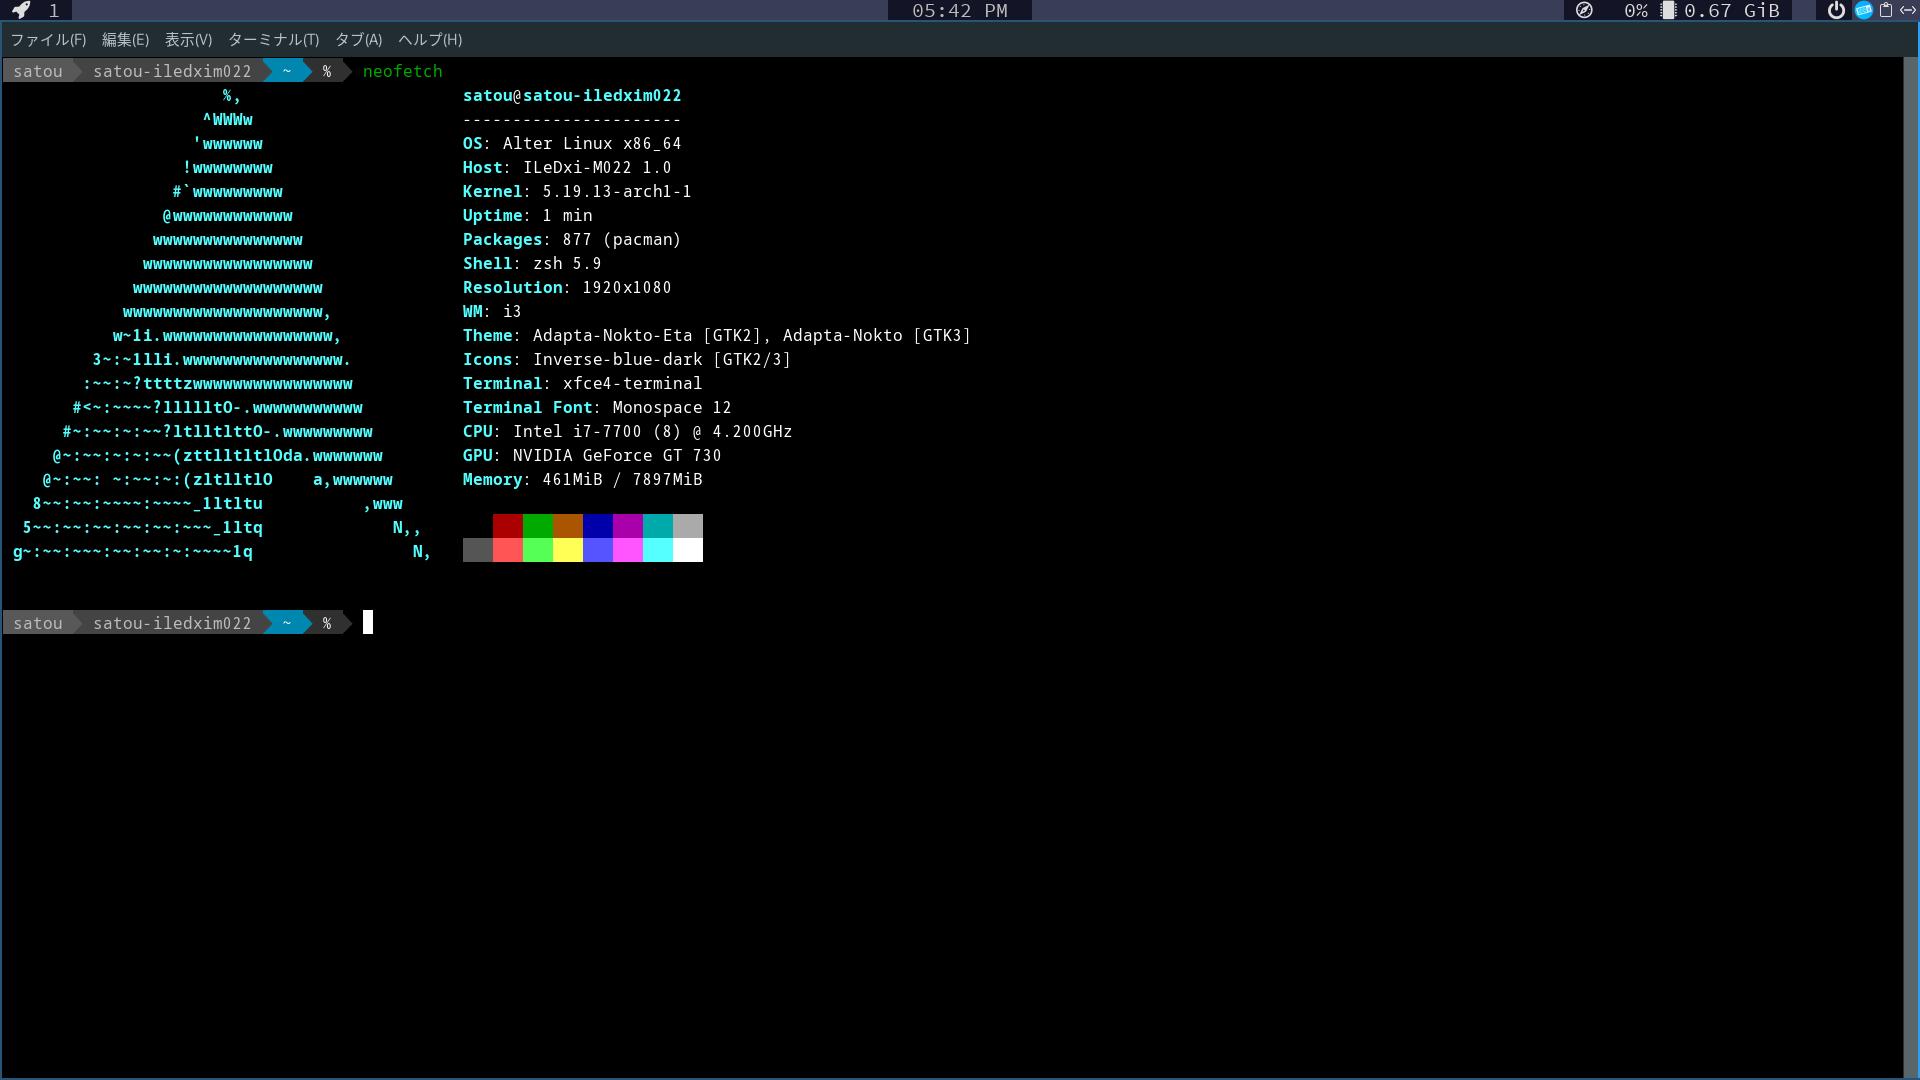
neofetch
端末 polybarに注目 青色のアイコンからmozcのアイコンに変わります。
横並び
縦並び
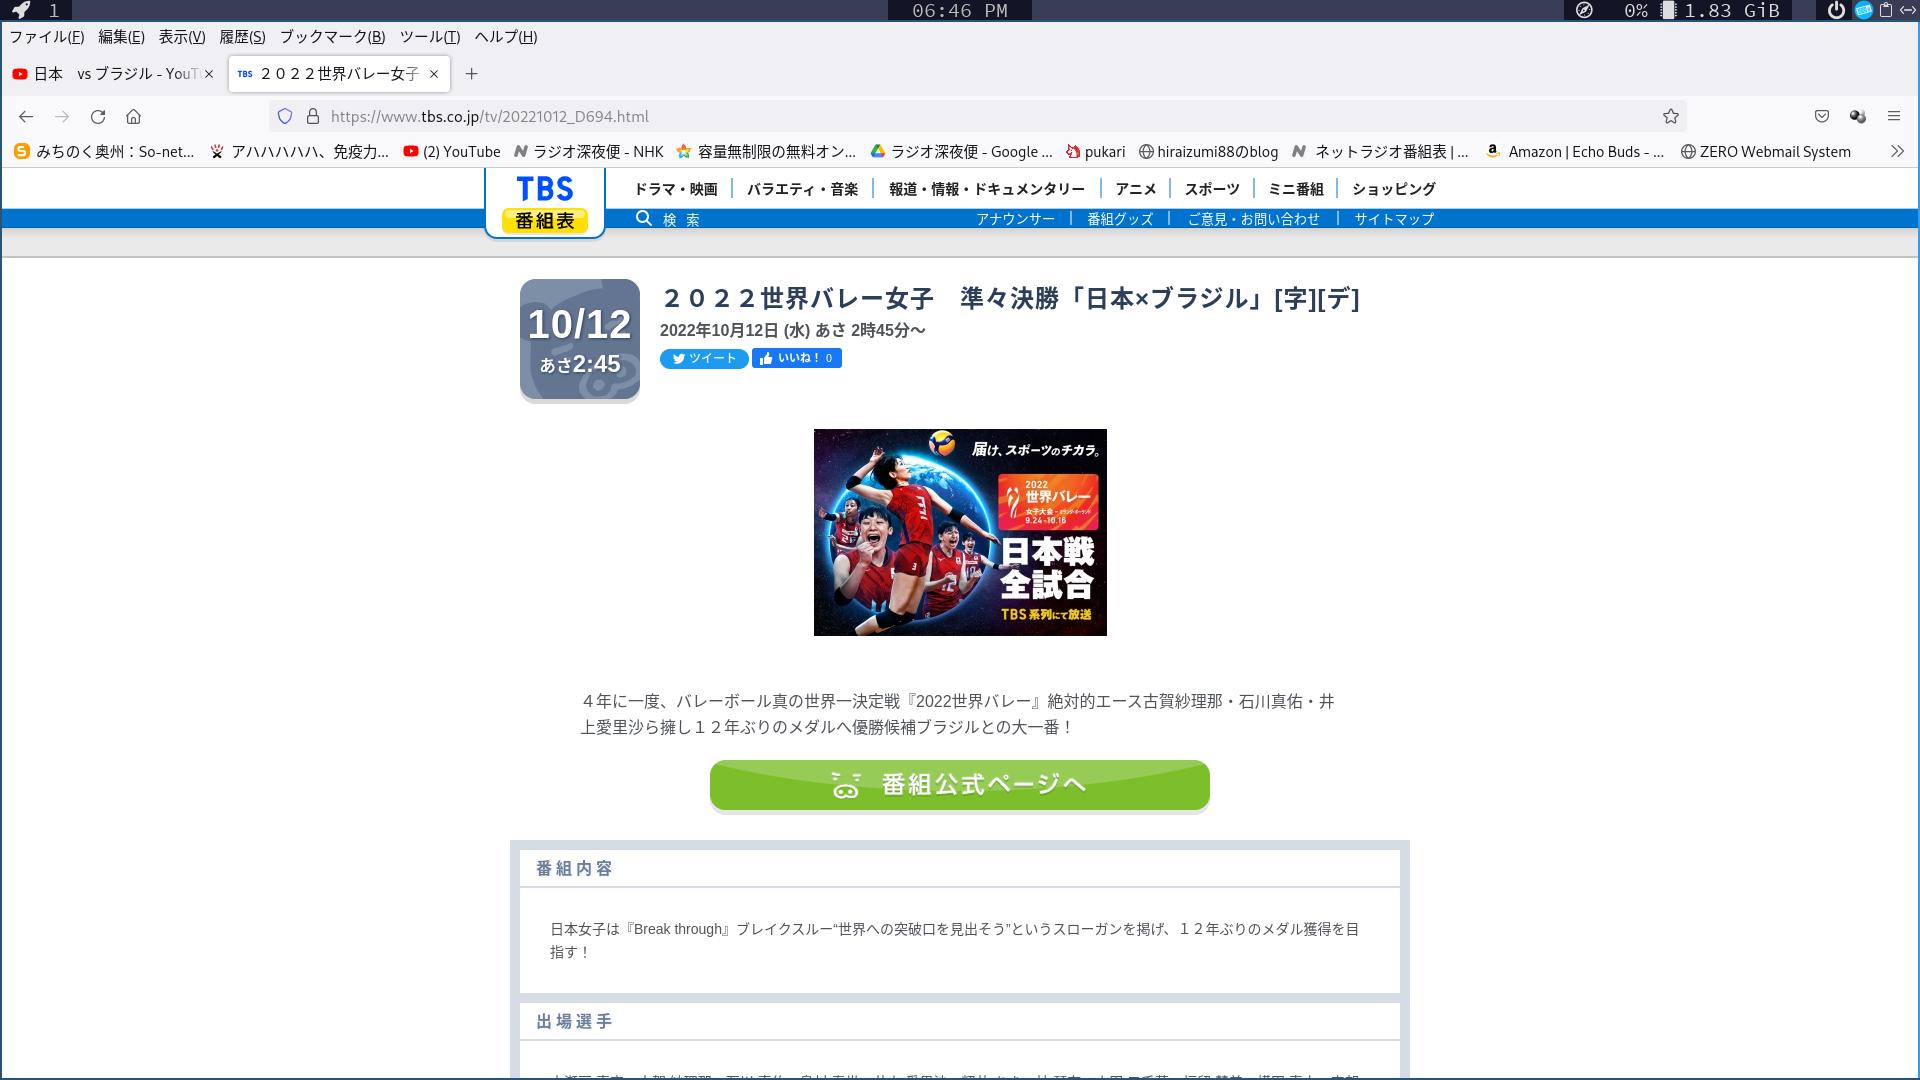
今夜世界バレー女子!!
https://www.tbs.co.jp/tv/20221012_D694.html
2022-10-11 19:03
nice!(0)
arcolinux openbox [arch系]
arcolinux openbox 2022-10-6
あいもかわらずlinuxであそんでいます。
今回の私のパソコン環境は osは arcolinux openboxウインドーマネージャー
CPU: Intel i7-7700 (8) @ 4.200GHz
GPU: NVIDIA GeForce GT 730
arcolinuxb-openbox-v22.06.07-x86_64.iso
arcolinuxのインストールは、Beginner Installation を選択して進んだ。
arcolinuxは、arch系、ベルギー製。
あいもかわらずlinuxであそんでいます。
今回の私のパソコン環境は osは arcolinux openboxウインドーマネージャー
CPU: Intel i7-7700 (8) @ 4.200GHz
GPU: NVIDIA GeForce GT 730
arcolinuxb-openbox-v22.06.07-x86_64.iso
arcolinuxのインストールは、Beginner Installation を選択して進んだ。
arcolinuxは、arch系、ベルギー製。
インストールが終わって最初の起動のとき、 welcome to arcolinux の画面
update arch linux mirrors をクリック
autostart チェックを外す
yay -S ttf-vlgothic pico leafpad
xfce4-terminal 設定
xfce4-terminalの設定 外観 不透明度100%に。
pacmanのupdateをする。
sudo pacman -Sy
sudo pacman -S archlinux-keyring
sudo pacman -Syu
日本語入力 picoは、nanoと同等のものです。
sudo pacman -S fcitx5-im fcitx5-mozc fcitx5-configtool libvoikko nuspell
pico ~/.config/openbox/autostart
fcitx5 &
sudo pico /etc/profile
export GTK_IM_MODULE=fcitx5
export QT_IM_MODULE=fcitx5
export XMODIFIERS=”@im=fcitx5”
日本語入力ができればこのまま使い続けても良いでしょう。
ーーーーーーーーーーーーーーーーーーーーーーーーーーーーーーーーーーーー
ーーーーーーーーーーーーーーーーーーーーーーーーーーーーーーーーーーーー
以下は私好みにした記録です。(改悪・・・) 私の前記事
◯tint2の設定
メニュー preferences tint2 gui
tint2rc の項目をクリック
(~/.config/tint2)
panel の項目をクリック posistion 下の位置にする
panel の項目の中の window manager interaction の項目
forward mouse events チェックを外す
panel items の項目をクリック launcherを左側に移動して、一番上に移動する。
task buttons の項目をクリック middle click の項目を none にする、right click の項目を close にする。
launcher の項目をクリック firefox xfce4-terminal thunar などを左側に移動する。
以上終了、一番下の applyをクリック
◯obmenu-generatorの設定
sudo pacman -S gnome-icon-theme
メニュー settings customize look and feel アイコンテーマ GNOME を選択
oblogout のインストール
yay oblogout
3
pico ~/.config/obmenu-generator/schema.pl 編集する
{sep => "ArcoLinux ベルギー製"},
# COMMAND LABEL ICON
{item => ['xfce4-terminal', 'Terminal', 'terminal']},
{item => ['exo-open --launch FileManager', 'File Manager', 'file-manager']},
{item => ['firefox', 'firefox', 'firefox']},
ーーーーーー
ーーーーーー
ーーーーーー
{item => ['oblogout', 'Exit Openbox', 'exit']},
]
◯その他インストールしたもの
yay -S otf-takao ttf-nanum mirage google-chrome noto-fonts-cjk onlyoffice-bin
sudo pacman -S easytag celluloid pavucontrol
◯snapで audacity のインストールする。snapは入っていたが動かない。
sudo systemctl enable --now snapd.socket
sudo systemctl enable --now snapd.apparmor
sudo ln -s /var/lib/snapd/snap /snap
sudo reboot
sudo snap install audacity
メニューに表示させる。
sudo cp /snap/audacity/current/usr/share/applications/audacity.desktop /usr/share/applications
sudo cp /snap/audacity/current/usr/share/icons/hicolor/48x48/audacity.png /usr/share/icons
sudo chmod 755 /usr/share/icons/audacity.png
sudo pico /usr/share/applications/audacity.desktop
Icon=/usr/share/icons/audacity.png
Exec=snap run audacity %F
◯printキーの設定
pico /home/satou/.config/openbox/rc.xml
352行
<command>scrot 'ArcoLinux_%Y-%m-%d-%S_$wx$h.jpg' -e 'mv $f $$(xdg-user-dir PICTURES)'</command>
壁紙の変更
nitrogen
arcolinuxは、人気あるosのようですがけっして使いやすいosとはいえないのでは・・・・・。カスタマイズして遊ぶにはいいosでしょう。
以下参考画像

arcolinux openbox

openboxメニュー

openboxメニュー
neofetch
celluloid再生中
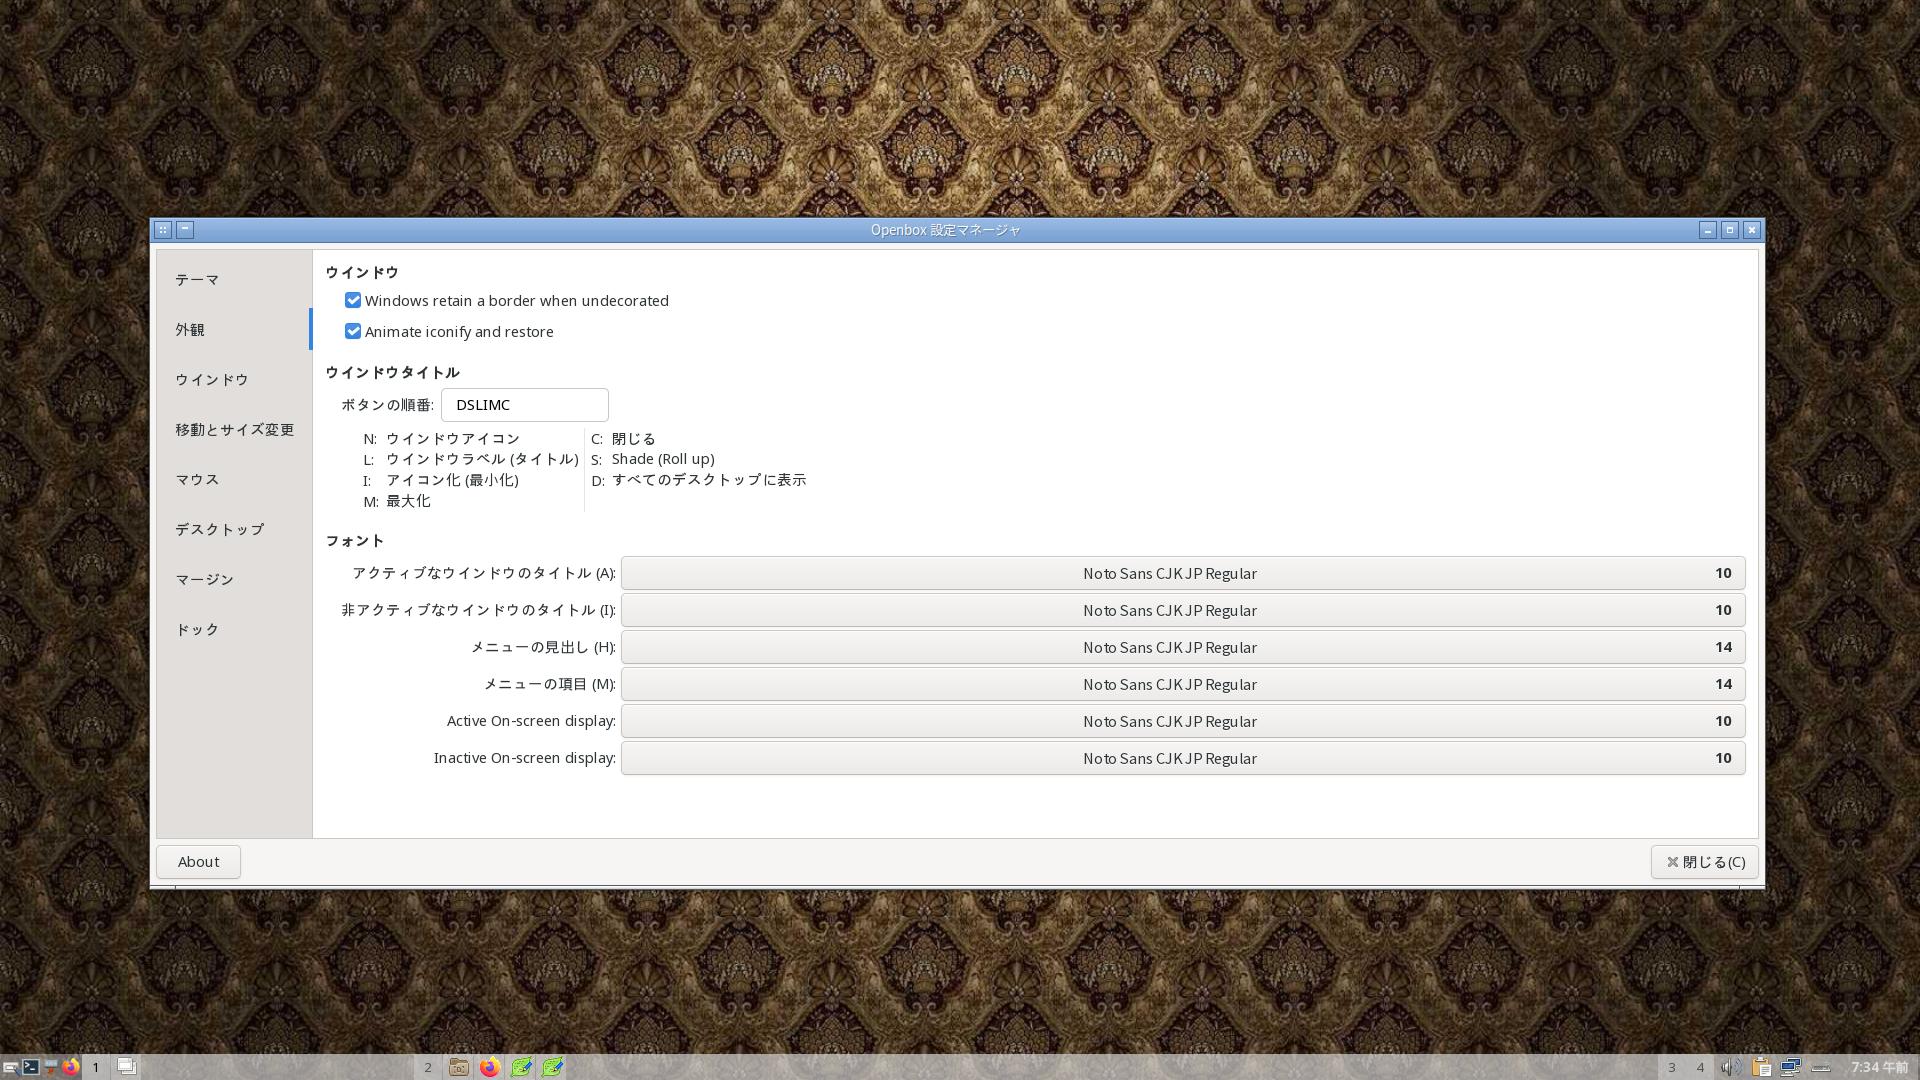
obconf
onlyoffice
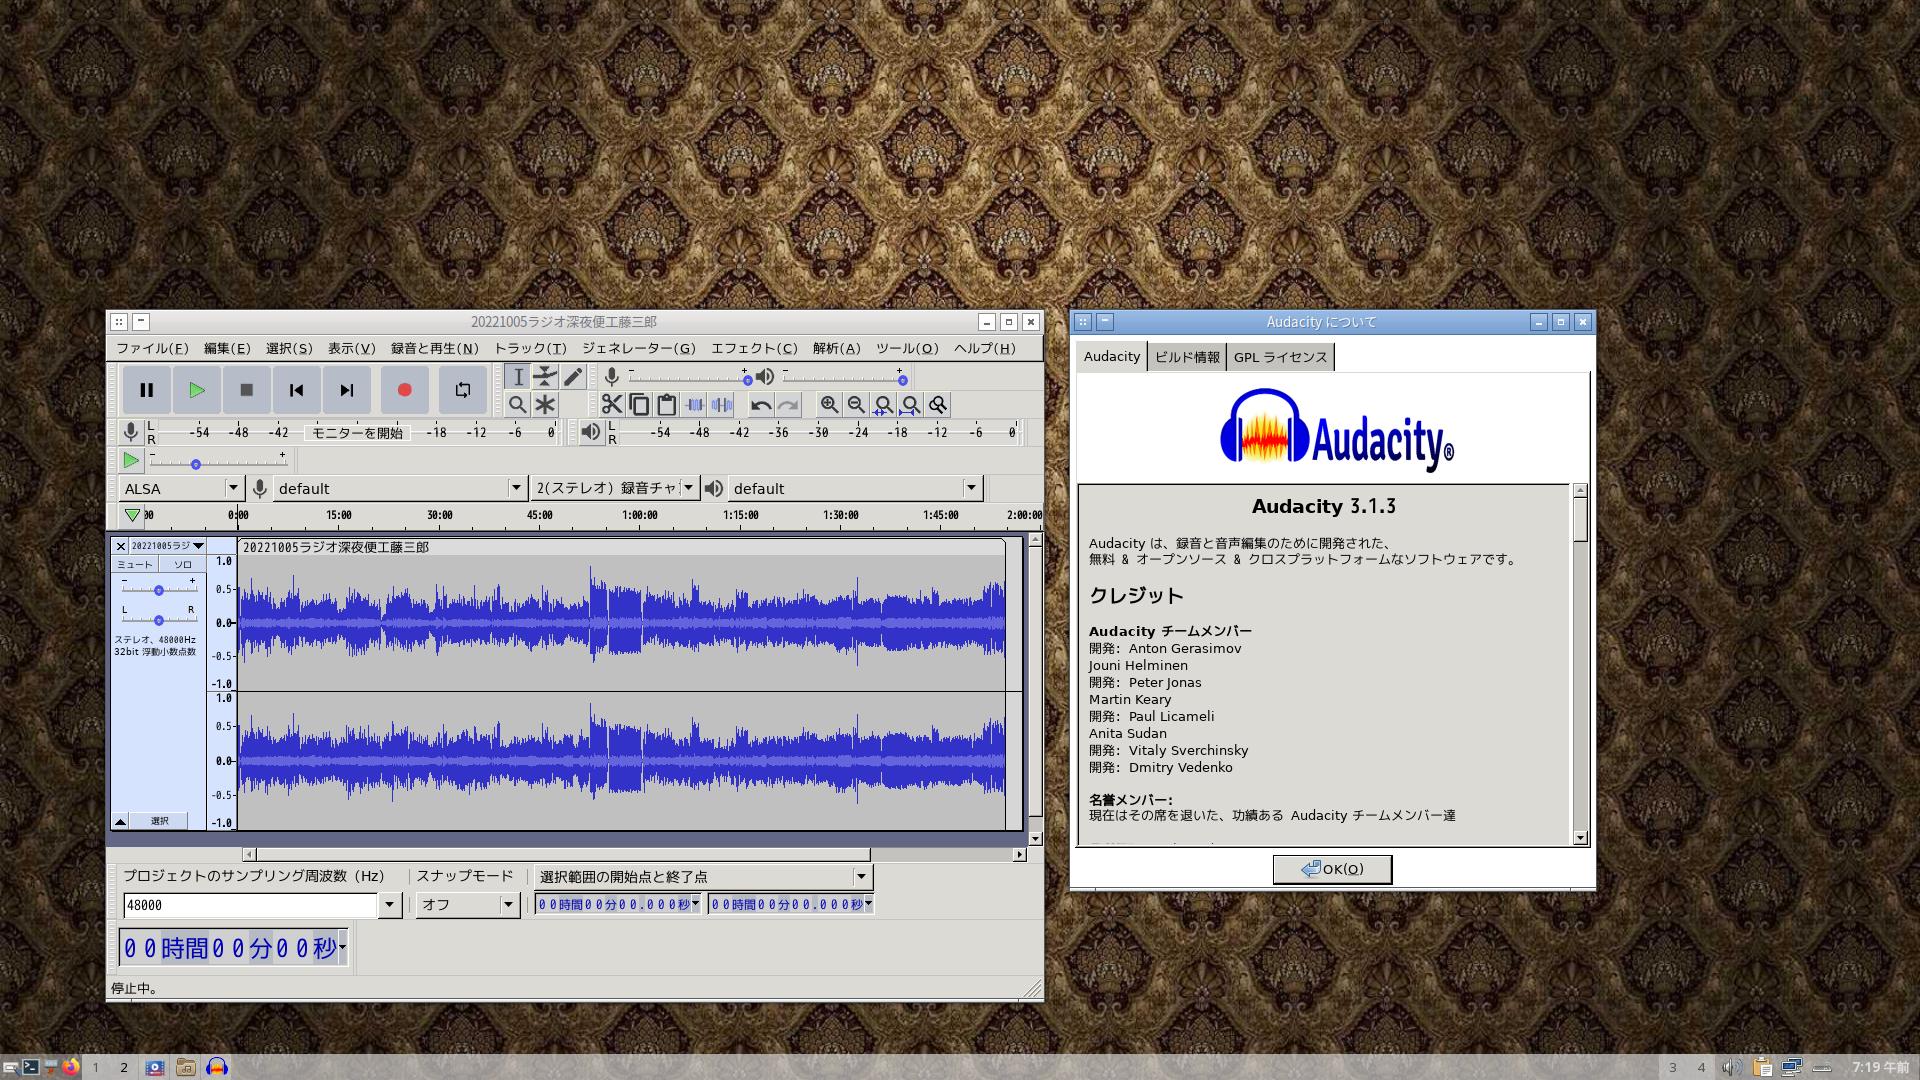
audacity
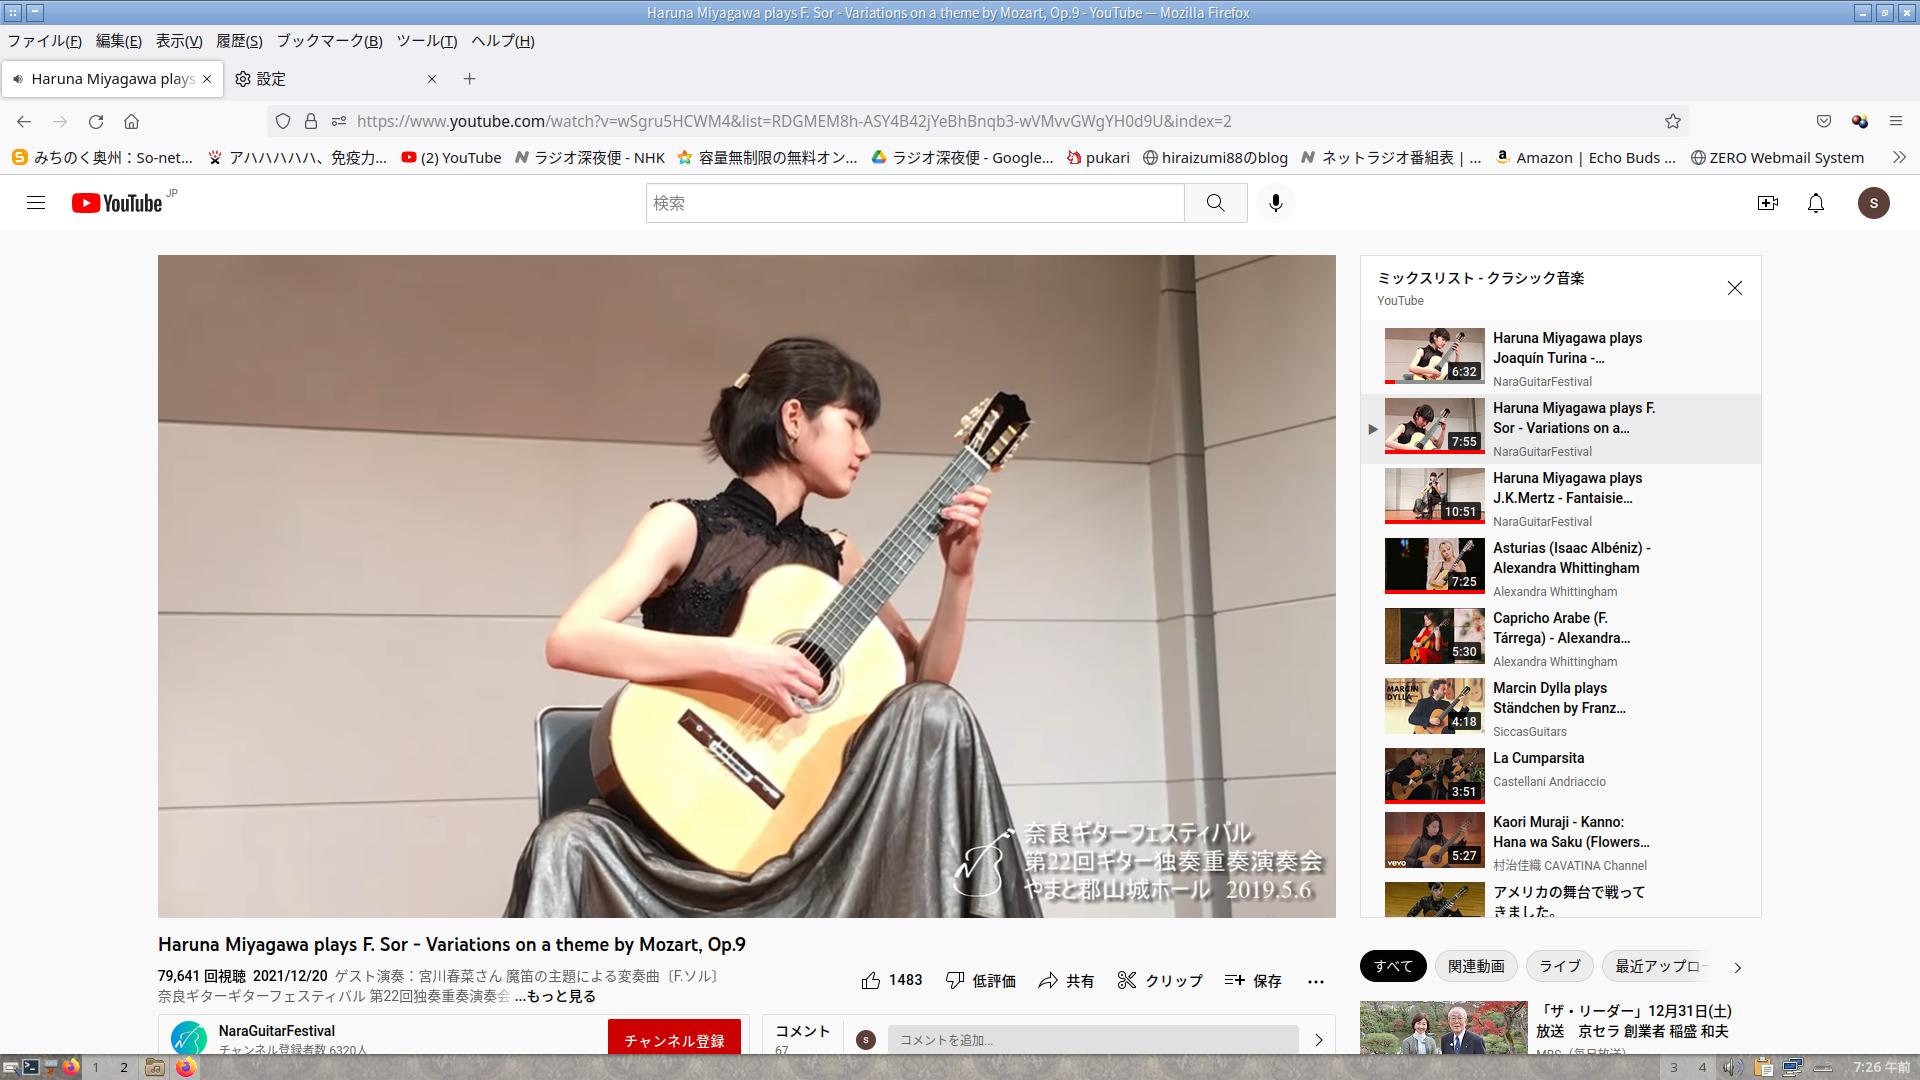
https://www.youtube.com/watch?v=wSgru5HCWM4&list=RDGMEM8h-ASY4B42jYeBhBnqb3-wVMvvGWgYH0d9U&index=2
2022-10-06 12:38
nice!(0)


